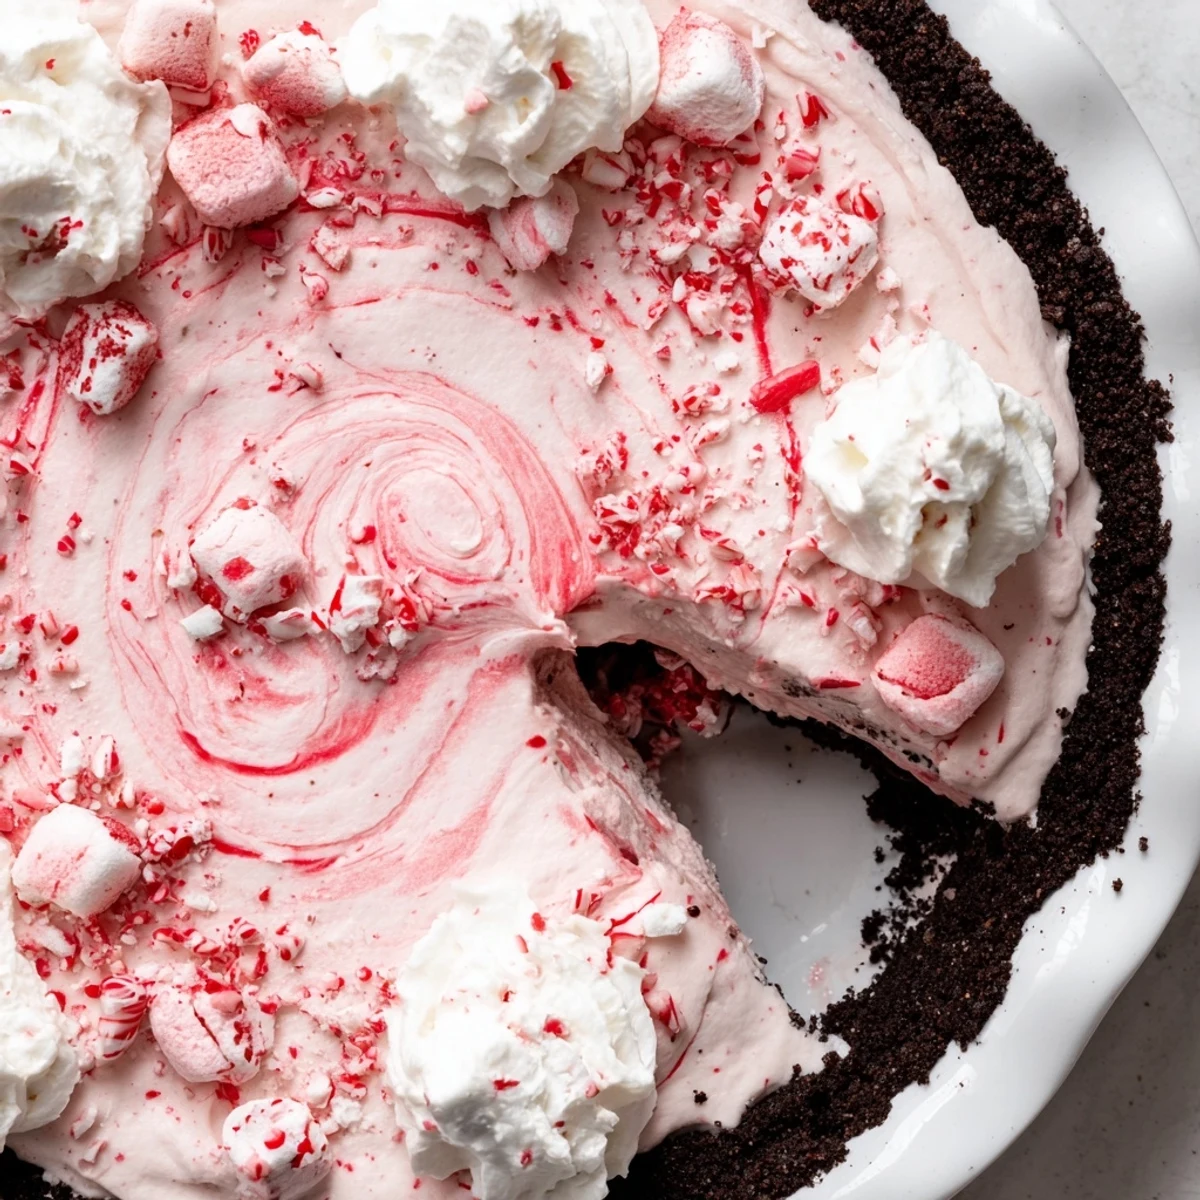
 Pin It
 This no-bake candy cane pie pairs a crisp chocolate cookie crust with a light whipped cream and cream cheese filling scented with peppermint and studded with mini marshmallows and crushed candy canes. Press the crust, fold the whipped components gently, then refrigerate at least four hours to set. Finish with a swirl of whipped cream and extra candy cane shards for color and crunch.
The first time I made Candy Cane Pie, my kitchen smelled like a chocolate factory collided with a peppermint shop. The unmistakable crunch of crushed candy canes against the spoon was oddly satisfying—and oddly, I wasn’t even supposed to like peppermint that much. There’s something about that cool-sweet flavor with a creamy base that makes you want to sneak a second slice long after everyone leaves the table. With zero baking and the biggest challenge being the wait for it to chill, it’s no wonder this pie steals the holiday spotlight.
I brought this pie to our family’s annual ornament swap, having barely finished swirling in the pink tint before guests arrived. Watching the nieces argue over which piece had the most marshmallows, I realized the real magic was making something fuss-free that had everyone, young and old, huddled for a taste. That evening, not a single crumb survived the car ride home.
Ingredients
- Chocolate cookie crumbs: These form the base—use Oreos for deep cocoa flavor or choose gluten-free for sensitive eaters.
- Unsalted butter: Melted butter binds the crust, so it won’t crumble when sliced (microwave in short bursts to avoid splatter).
- Heavy whipping cream: Whip it cold for cloudlike peaks; overbeating can turn it grainy fast.
- Cream cheese: Room temperature is key—it incorporates without lumps and leaves the filling silky.
- Powdered sugar: Dissolves easily and helps create that classic pie sweetness.
- Vanilla extract: Balances the mint—don’t skip, or the pie leans too sharp.
- Peppermint extract: A little goes a long way! Measure carefully for the right minty pop.
- Mini marshmallows: These give a chewy surprise bite—toss them in just before filling.
- Crushed candy canes: Swirl some in, keep some for the top—take care not to crush them into powder.
- Red food coloring (optional): A single drop or two makes a charming blush (totally optional but makes it festive).
- Whipped cream: For swirling or piping on top—homemade or your favorite store-bought works.
- Extra candy canes: For decorating; crush them just before serving so they stay crisp.
Instructions
- Prepare the crust:
- Mix your cookie crumbs and melted butter in a bowl, listening for the soft crunch as it all comes together. Gather the mixture firmly into a 9-inch pie dish and press with the back of a spoon until level, then chill it while you work on the filling.
- Whip the cream:
- Pour the cold whipping cream into a large bowl, then beat with an electric mixer until peaks hold their shape. You’ll know it’s ready when you can lift the beater and the cream stays put with soft mountain tops.
- Make the cream cheese base:
- In another bowl, blend the softened cream cheese, powdered sugar, vanilla, and peppermint extract. Mix slowly at first to avoid clouds of sugar dust, then faster until it’s smooth as frosting.
- Combine the filling:
- Gently fold the whipped cream into the cream cheese mixture, keeping things airy. Sprinkle in mini marshmallows and crushed candy canes, then add a drop or two of red food coloring if you like—the swirl will look almost too pretty to cover up.
- Assemble the pie:
- Spoon the filling into your cold crust, smoothing it out with a spatula until even. Pop it in the fridge and try not to peek for at least 4 hours so it sets up nicely.
- Decorate and serve:
- Just before serving, add generous clouds of whipped cream and a final shower of crushed candy canes or peppermint candies. The pie slices easiest if you use a knife dipped in hot water and wiped clean between cuts.
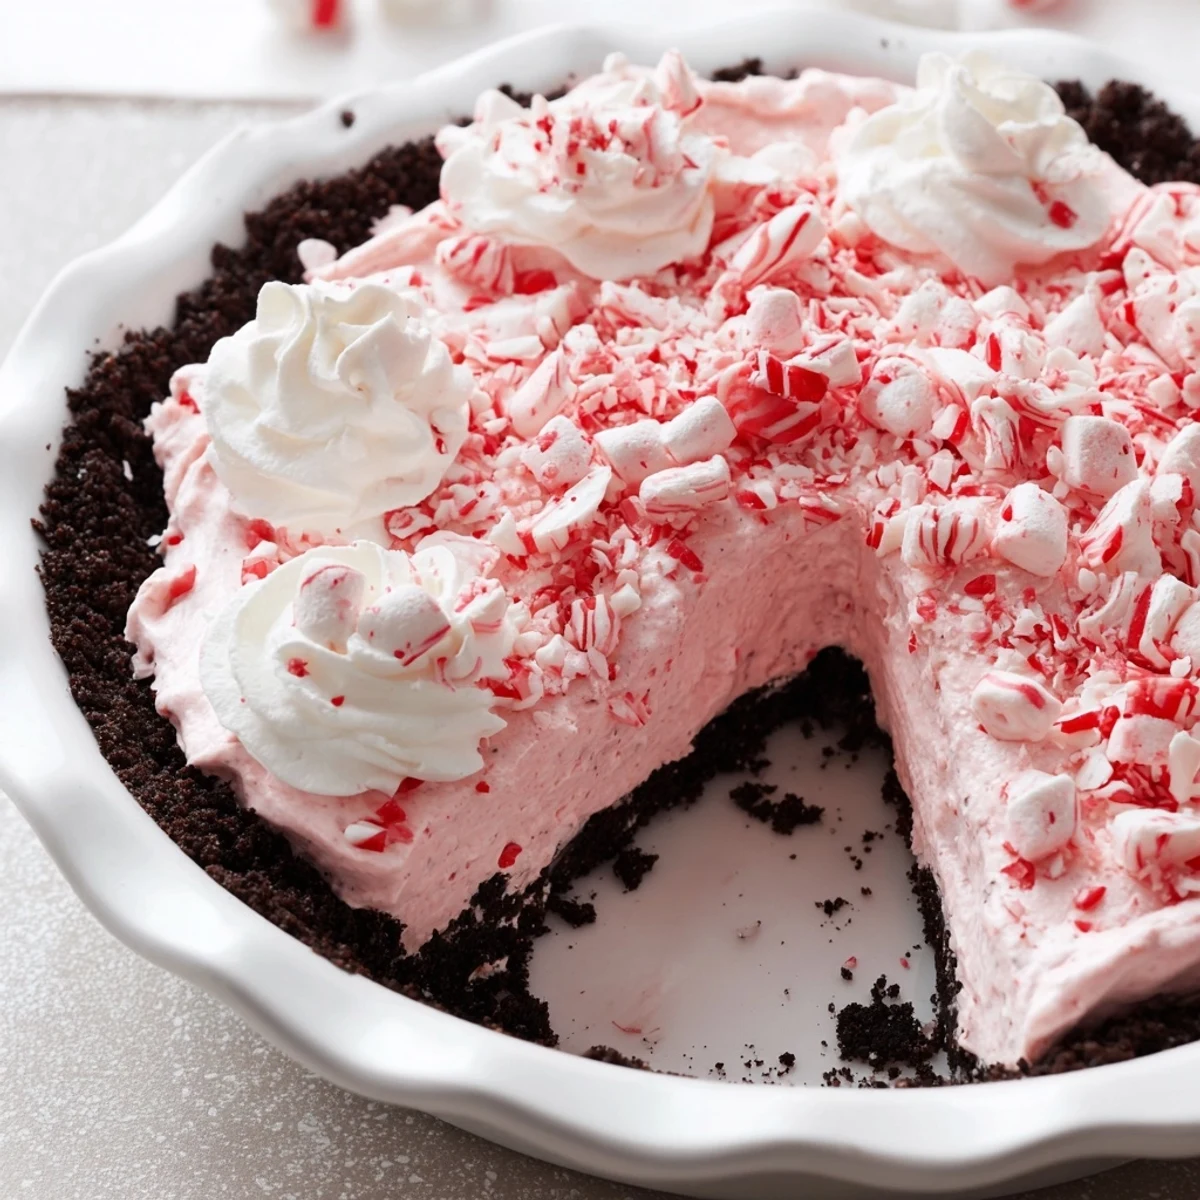 Pin It
 One December, we sliced into this pie during a snowstorm, and even the quietest family member chimed in about the cool, minty filling. Between the warmth inside and the frosted windows, it became less about dessert and more about sharing something comfortingly sweet together.
How to Make It Ahead and Chill
I love assembling the whole pie the night before guests arrive—the texture firms up beautifully overnight in the fridge. Just hold off on adding candy cane decorations until right before serving to keep that signature crunch alive.
Crust Shortcuts & Swaps
Those gluten-free chocolate cookies really do the trick if you’re serving a mixed crowd—and using a food processor to blitz them saves time. Worried about cookies sticking to the pan? Line the dish with parchment for insanely easy slicing later.
Mix-Ins and Your Signature Touch
Some folks love to add dark chocolate chips or swap in marshmallow crème for extra gooeyness. Taste as you go—one drop more peppermint or a handful of extra cookies can nudge the pie in whatever direction you like best.
- Always taste the filling before chilling to tweak the mint flavor.
- If you’re feeling festive, top with chocolate curls too.
- Chill your mixing bowl and beaters for faster-whipped cream.
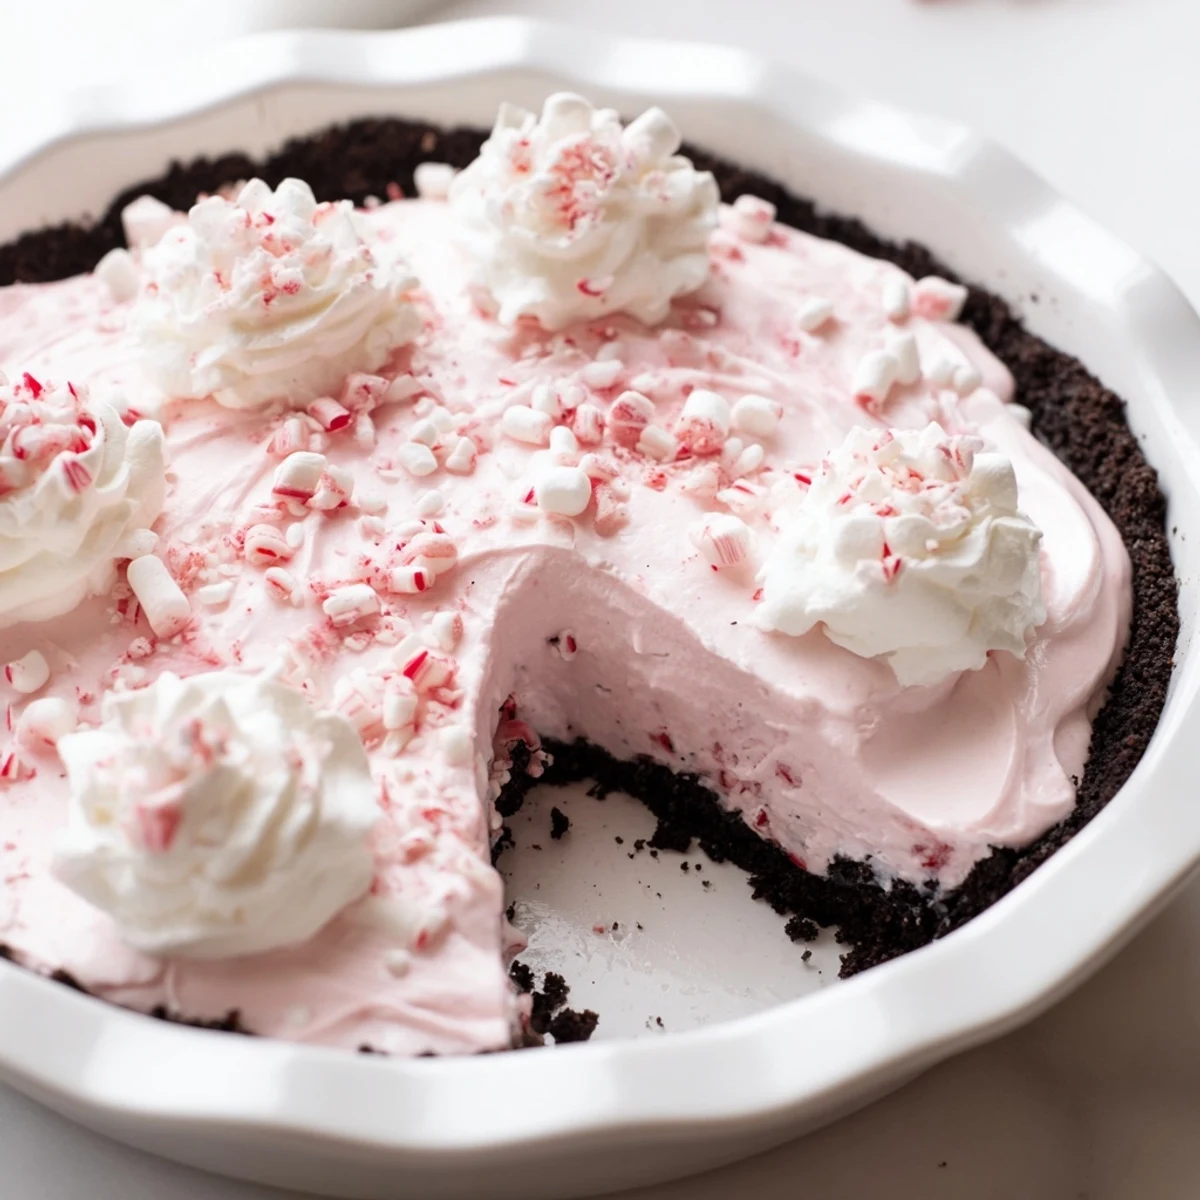 Pin It
 Every slice of this Candy Cane Pie brings the spirit of the season to the table—no oven timers needed. May your holidays (and dessert plates) always be this joyful.
Common Questions
- → How long does it need to chill before serving?
-
Chill at least four hours to allow the filling to firm and the flavors to meld; overnight gives the best texture and easier slicing.
- → Can I make the chocolate crust gluten-free?
-
Yes. Swap regular cookie crumbs for certified gluten-free chocolate cookie crumbs and press with melted butter the same way for a firm, flavorful base.
- → How can I reduce the peppermint intensity?
-
Start with half the peppermint extract, taste the filling before chilling, and add more if needed; extracts concentrate as the filling rests.
- → Will the candy canes stay crunchy after chilling?
-
Crushed candy canes folded into the filling soften slightly; garnish with fresh shards just before serving to preserve crunch and visual contrast.
- → Can this be frozen?
-
Freezing can change the texture of whipped components. For best results, freeze only the assembled pie for up to one month and thaw in the fridge several hours before serving, then refresh the topping.
- → Any tips for a smooth, lump-free filling?
-
Soften cream cheese to room temperature, beat it until fully smooth with powdered sugar, then gently fold in whipped cream to keep the filling airy and uniform.