
 Pin It
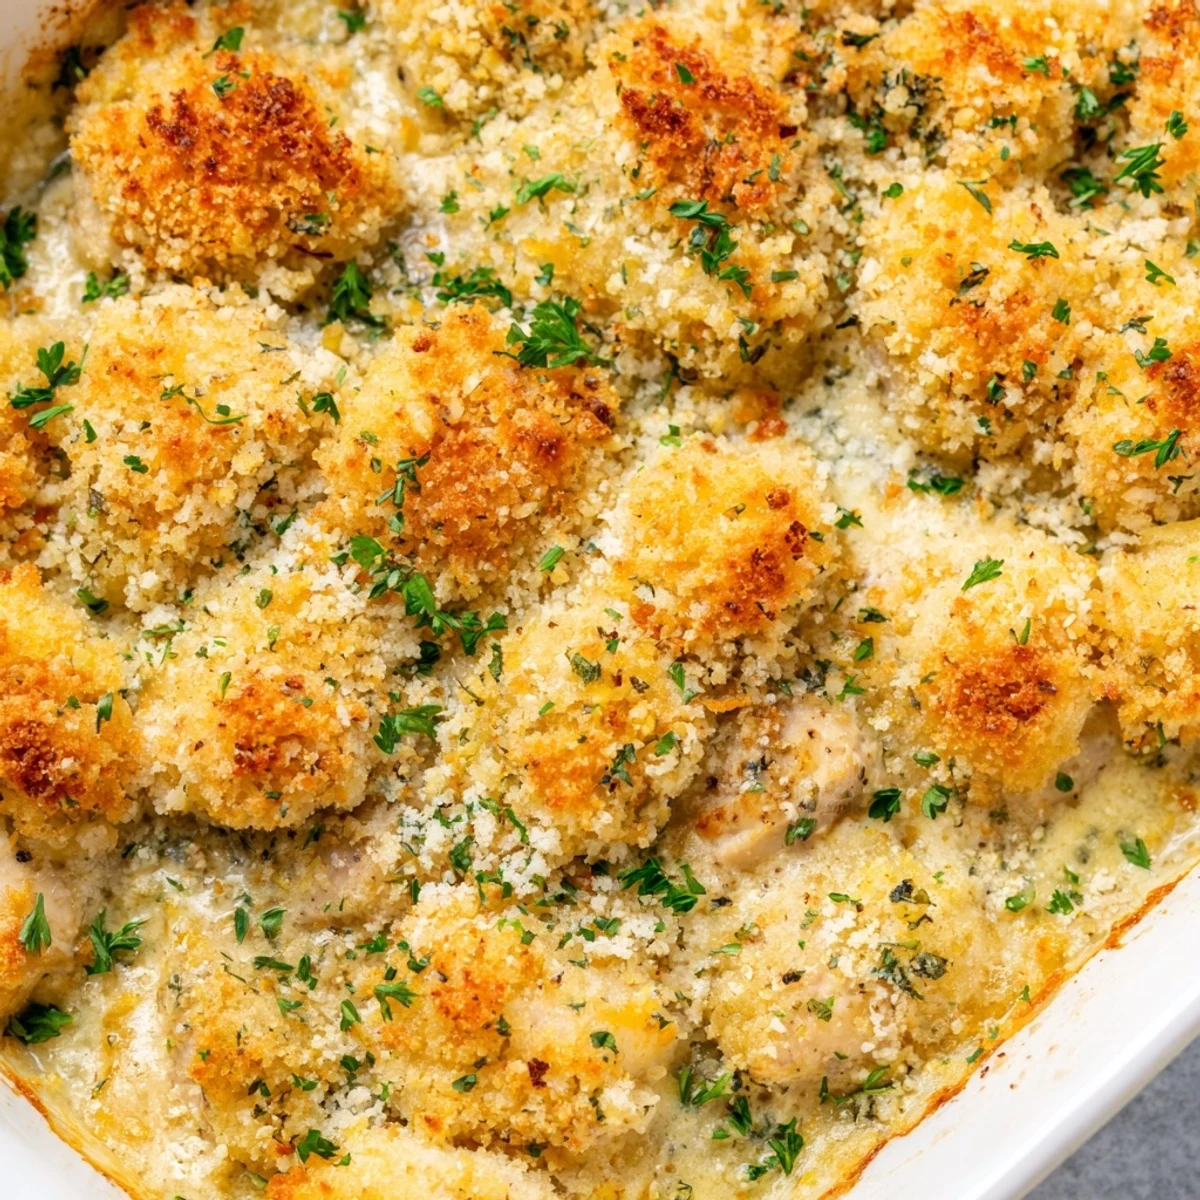
 This deconstructed Chicken Kiev casserole transforms the beloved Eastern European classic into an effortless one-pan meal. Tender pieces of sautéed chicken breast are nestled in a luscious garlic-herb butter sauce, then crowned with a golden, crispy Parmesan and panko breadcrumb topping.
Ready in just 55 minutes with only 20 minutes of prep, it's an ideal weeknight dinner that feeds six comfortably. The garlicky, buttery sauce seeps into every bite, delivering all the flavors of traditional Chicken Kiev without the fuss of rolling and stuffing.
The smell of garlic butter hitting a hot skillet is one of those things that makes everyone wander into the kitchen asking what is for dinner. This Chicken Kiev Casserole came together one rainy Tuesday when I was craving the flavors of the classic dish but had zero patience for pounding and rolling individual cutlets. It is everything you love about Kiev, just tossed into a baking dish and let loose.
My neighbor stopped by once while this was in the oven and ended up staying for dinner because the aroma was impossible to resist. She brought a bottle of white wine and we sat at the kitchen counter eating straight from the dish with big spoons.
Ingredients
- 1.5 lbs boneless skinless chicken breasts cut into bite sized pieces: Cut them fairly uniform so everything cooks evenly and you dont end up with some pieces dry and others underdone.
- 6 tbsp unsalted butter softened: The garlic herb butter is the soul of this dish, so use good quality butter if you can find it.
- 3 garlic cloves minced: Fresh garlic only here, the jarred stuff will not give you the same punch.
- 2 tbsp fresh parsley chopped: Flat leaf or curly both work fine, just make sure it is fresh because dried parsley adds nothing.
- 1 tbsp fresh dill chopped optional: Dill gives it an unexpected Eastern European twist that really ties it back to the original Kiev.
- 1/2 tsp salt and 1/4 tsp black pepper: For the compound butter, you will season the chicken separately too.
- 1 tsp lemon juice: Just a splash to brighten the butter and cut through the richness.
- 1 cup whole milk: Whole milk makes the creamiest sauce, skim will leave it tasting thin.
- 1 cup low sodium chicken broth: Low sodium gives you control over the salt level throughout.
- 2 tbsp all purpose flour: This is your thickener for the sauce, cook it a minute to lose the raw taste.
- 1 tbsp olive oil: For searing the chicken pieces to get that nice golden color.
- 1 cup panko breadcrumbs: Panko stays crispier than regular breadcrumbs and gives that satisfying crunch on top.
- 1/4 cup grated Parmesan cheese: Mixes into the topping for a savory, salty crust.
- 2 tbsp unsalted butter melted: Tossed with the breadcrumbs to help them brown in the oven.
- 2 tbsp fresh parsley chopped for garnish: A finishing touch that makes it look as good as it tastes.
Instructions
- Preheat and Prep the Dish:
- Set your oven to 375 degrees Fahrenheit and grease a 9 by 13 inch baking dish with a little butter or nonstick spray so nothing sticks later.
- Make the Garlic Herb Butter:
- Mash together the softened butter, minced garlic, parsley, dill if you are using it, salt, pepper, and lemon juice in a small bowl until it looks like a fragrant green flecked paste.
- Sear the Chicken:
- Heat the olive oil in a large skillet over medium high heat, add the chicken pieces with a sprinkle of salt and pepper, and cook until golden on the edges and just cooked through, about 5 to 7 minutes, then transfer them to the baking dish.
- Build the Sauce:
- In that same skillet with all those tasty chicken bits stuck to the bottom, sprinkle in the flour and stir it around for a minute, then slowly whisk in the milk and broth until smooth and let it simmer until it coats the back of a spoon.
- Add the Magic Butter:
- Take the skillet off the heat and drop in the garlic herb butter you made earlier, whisking until it melts completely into a silky sauce, then pour every bit of it over the chicken in the dish.
- Top It Off:
- Toss the panko with Parmesan and melted butter in a bowl, then scatter it evenly across the top of the casserole so every serving gets plenty of crunch.
- Bake Until Golden:
- Slide it into the oven uncovered and bake for about 25 minutes until the topping is deeply golden and the edges are bubbling up through the crumbs.
- Rest and Garnish:
- Let it sit for 5 minutes out of the oven so the sauce settles a bit, then scatter fresh parsley over the top and serve it warm.
 Pin It
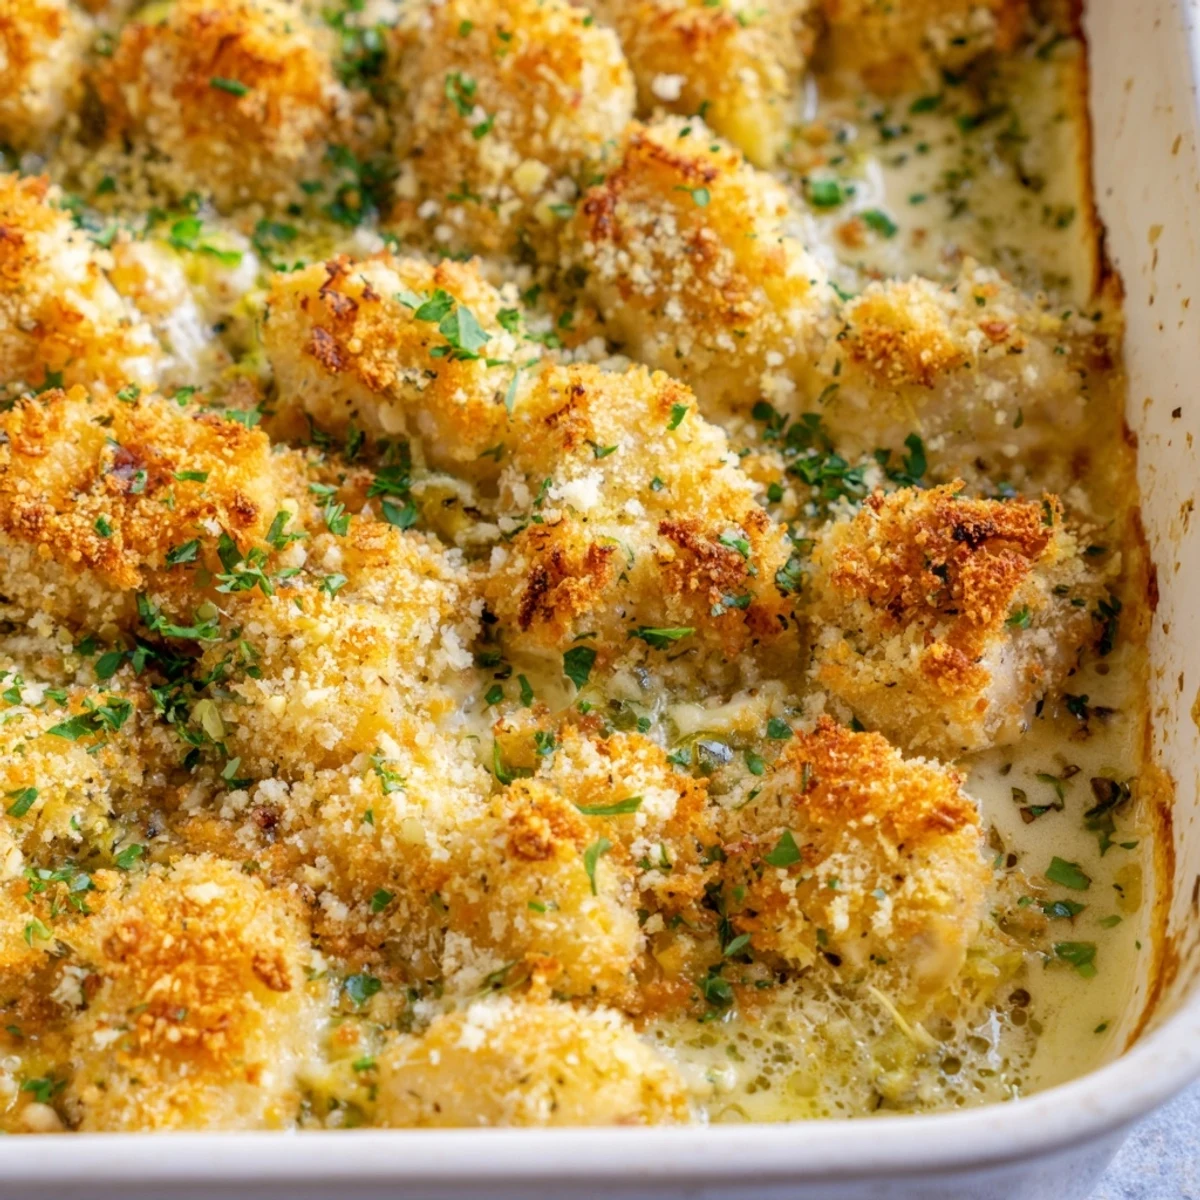
 There is something deeply satisfying about pulling a bubbling golden topped casserole out of the oven when the house smells like roasted garlic and butter.
Serving Ideas That Actually Work
This dish is rich enough on its own that you want something fresh and simple alongside it. Steamed green beans with a squeeze of lemon or a crisp arugula salad with a light vinaigrette balances out all that buttery goodness perfectly.
Making It Your Own
Try tucking a handful of shredded Gruyere under the breadcrumb layer for an extra gooey middle that pulls apart beautifully. You can also swap chicken thighs for the breasts if you prefer darker meat that stays a bit more forgiving and juicy.
Storage and Reheating
Cover the dish tightly with foil and refrigerate for up to three days, though in my house it never lasts that long. Reheat individual portions in the oven at 350 degrees Fahrenheit to bring back the crunch on top.
- The microwave works in a pinch but the topping will go soft.
- Freeze individual portions in airtight containers for up to one month.
- Always let frozen portions thaw overnight in the fridge before reheating.
 Pin It
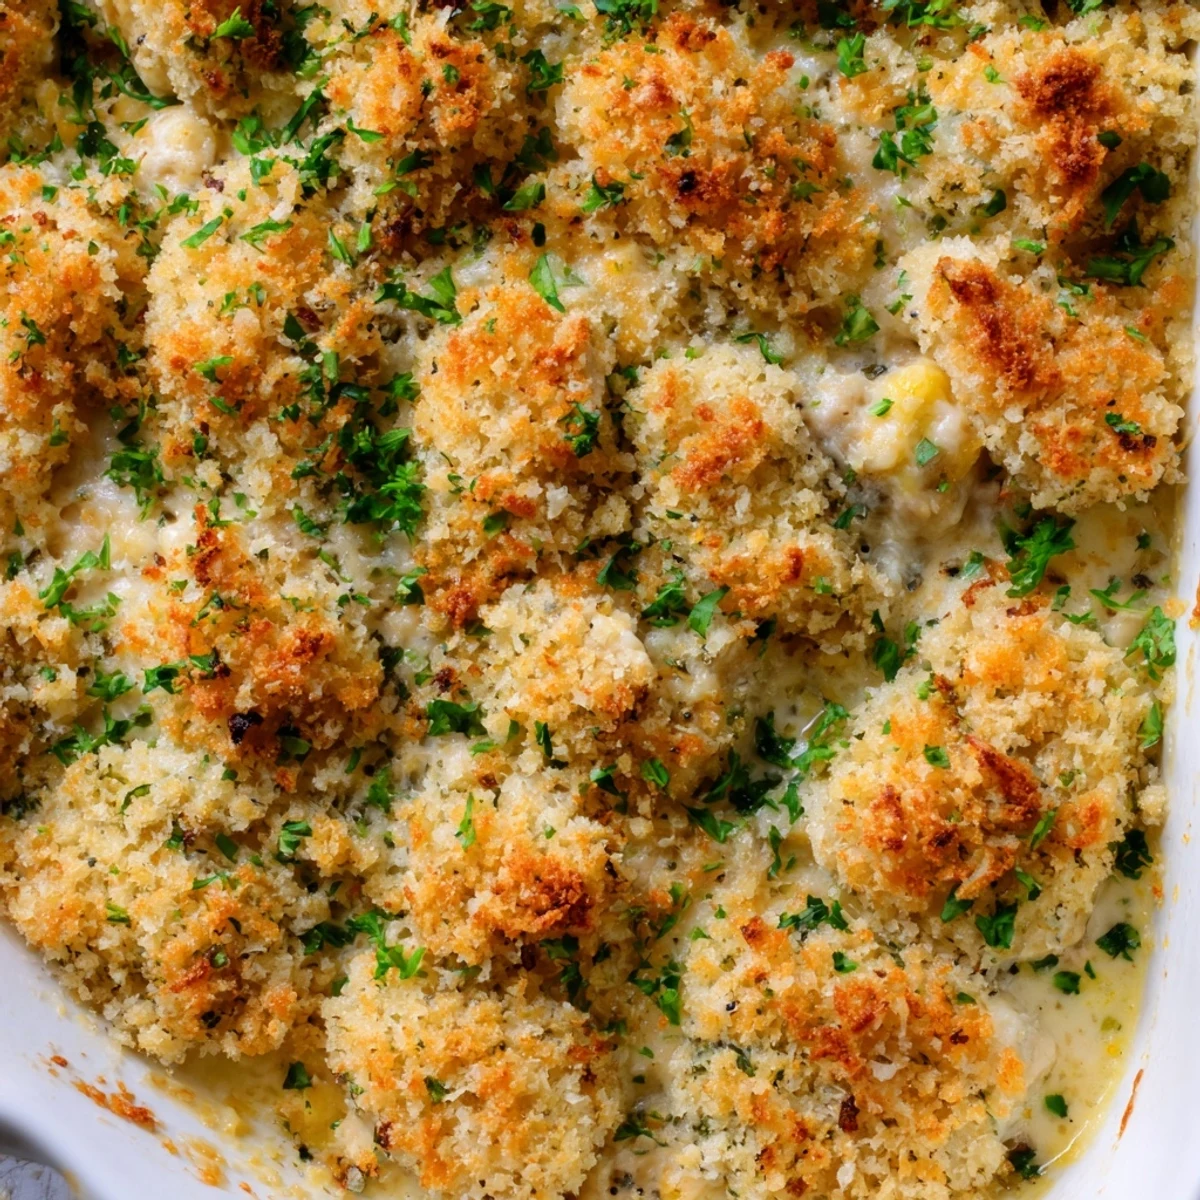
 This is the kind of dish that turns a regular weeknight into something worth sitting down for. Pass the spoons and do not bother with plates.
Common Questions
- → Can I use chicken thighs instead of breasts?
-
Yes, boneless skinless chicken thighs work beautifully in this casserole. They'll stay even juicier and add slightly more richness. Just cut them into similar-sized pieces and adjust the sauté time if needed, as thighs may take a minute or two longer to cook through.
- → What can I serve with Chicken Kiev Casserole?
-
Steamed vegetables like green beans or broccoli make a perfect light side. A simple green salad with vinaigrette cuts through the richness nicely. Mashed potatoes or buttered egg noodles also pair well for a heartier meal.
- → Can I assemble this casserole ahead of time?
-
Absolutely. You can prepare the chicken, sauce, and topping separately, then assemble everything in the baking dish. Cover and refrigerate for up to 24 hours before baking. You may need to add 5–10 extra minutes in the oven if baking straight from the refrigerator.
- → How do I store and reheat leftovers?
-
Store leftovers in an airtight container in the refrigerator for up to 3 days. Reheat individual portions in the microwave, or warm the whole dish in a 350°F oven for about 15 minutes until heated through. The topping won't be quite as crispy but will still be delicious.
- → Can I freeze this casserole?
-
Yes, you can freeze it either before or after baking. For best results, assemble without the breadcrumb topping, wrap tightly, and freeze for up to 3 months. Thaw overnight in the refrigerator, add the topping fresh, then bake as directed.
- → How do I get a crispier breadcrumb topping?
-
Use panko breadcrumbs for maximum crunch. Make sure the melted butter is evenly distributed through the topping mixture. Broiling for the last 1–2 minutes can also boost crispiness — just watch carefully to avoid burning.