 Pin It
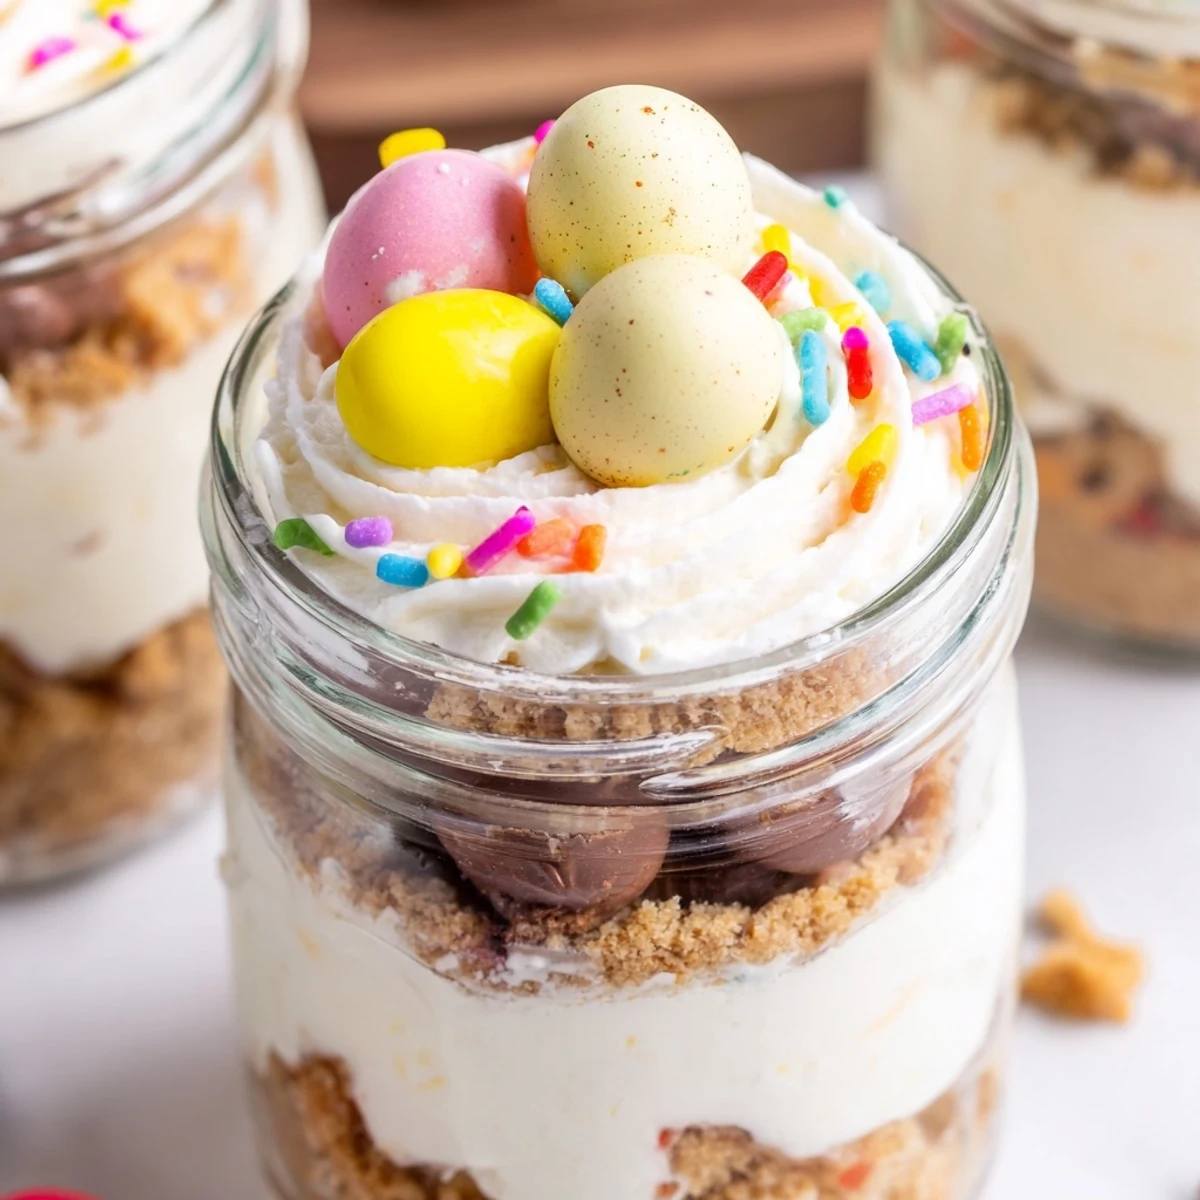
 These adorable individual cheesecake jars feature a buttery cookie crust base topped with silky smooth cream cheese filling. Hidden throughout each layer are mini chocolate Easter eggs that create delightful surprises with every spoonful. The no-bake preparation makes them perfect for busy holiday weekends, while the portable jar presentation eliminates the need for plates or serving utensils. Each jar is finished with a cloud of whipped cream, extra chocolate eggs, and colorful sprinkles for maximum festive appeal.
The first time I made these, my kitchen looked like a pastel bomb had gone off, and I could not have been happier about it. I was hosting Easter dinner for six people and wanted something that felt special but did not require oven space I did not have. My nephew found the hidden egg in his jar first and let out this delighted gasp that made the entire evening feel magical. Now they are the one thing my family actually asks for by name every spring.
Last year I made twelve jars for a neighborhood potluck and watched three different adults literally light up when they discovered the chocolate hiding inside their portion. One friend told me she felt like a kid again, scooping her spoon down and hitting that surprise. There is something about individual desserts that makes people feel seen and cared for, like you made something just for them.
Ingredients
- 1 cup digestive biscuits or graham crackers: crushed into fine crumbs, these create the buttery foundation that holds everything together
- 3 tbsp unsalted butter: melted until golden and stirred into the crumbs until they hold together when pressed
- 8 oz cream cheese: truly softened to room temperature so your filling turns silk smooth without any stubborn lumps
- 1/3 cup granulated sugar: just enough sweetness to balance the tang without overwhelming the cream
- 1 tsp vanilla extract: pure vanilla makes all the difference here, trust me on this one
- 1 cup heavy cream: ice cold straight from the fridge, this whips into clouds that transform the dense cheese into something light
- 18 mini chocolate Easter eggs: solid eggs work best because they keep their shape during chilling
- 1/2 cup whipped cream: for that crowning dollop on top
- 2 tbsp rainbow sprinkles: because Easter desserts deserve a little festive confetti
Instructions
- Build the buttery crust:
- Mix those crushed cookies with melted butter until every single crumb looks glossy and coated, then press two tablespoons into the bottom of each jar with the back of your spoon.
- Whip up the clouds:
- Beat that room temperature cream cheese with sugar and vanilla until you cannot see any more grainy bits, then whip your cold heavy cream in a separate bowl until it stands in proud stiff peaks.
- Combine and layer:
- Fold the whipped cream into your cheesecake base like you are folding in a dream, then spoon half the mixture over each crust, tuck in two or three chocolate eggs, and cover with the remaining filling.
- Chill and decorate:
- Let the jars rest in the fridge for at least two hours, or honestly overnight if you can plan ahead, then crown each one with whipped cream and those festive sprinkles right before serving.
 Pin It
 My sister in law took one bite last Easter and immediately asked if she could take home an extra jar for breakfast the next day. Seeing adults get excited about dessert the way kids do is probably my favorite part of making these. They are simple, they are cute, and they somehow make people feel delighted in a way that a cake slice never quite does.
Making Them Ahead
I have learned through experience that these jars actually taste better after sitting overnight in the fridge. The crust softens slightly and melds with the cream, the flavors deepen and marry together, and the texture becomes almost pudding like in the best possible way. If you are hosting Easter brunch, make them the day before and feel incredibly organized when everyone else is scrambling.
The Hidden Egg Strategy
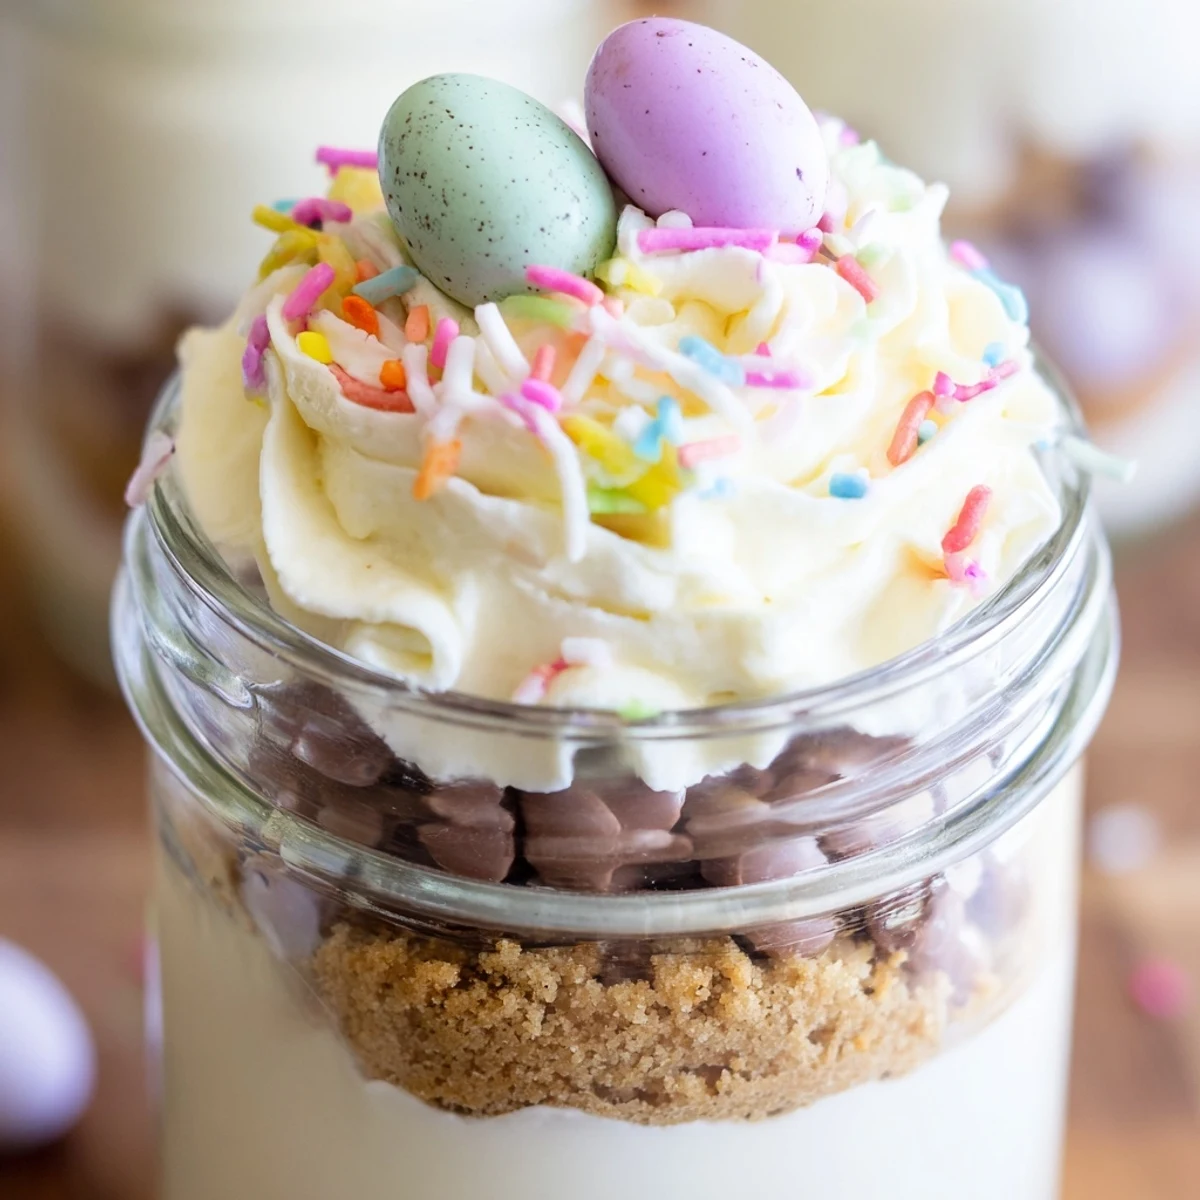
After making these a dozen times, I have discovered that placing the eggs closer to the glass rather than dead center creates that perfect reveal moment. People see the colorful candy through the side of the jar and get curious before they even take a bite. It is a tiny detail but watching someone spot their hidden treasure through the glass never gets old.
Customizing Your Jars
While the classic version is hard to beat, I have started experimenting with different crusts and mix ins depending on what my family is feeling that year. The base formula is so forgiving that you can play around without worrying about ruining anything.
- Try chocolate sandwich cookies for the crust if you want something extra indulgent
- Swap the mini eggs for peanut butter cups or chopped chocolate bunnies
- Add a layer of tart raspberry jam between crust and cheesecake for contrast
 Pin It
 These little jars have become such a tradition in my house that Easter does not feel complete without them in the fridge. Hope they bring some pastel joy to your table too.
Common Questions
- → Can I make these cheesecake jars ahead of time?
-
Yes, these jars can be prepared up to 24 hours in advance and stored in the refrigerator. The flavors actually develop better after chilling overnight.
- → What size jars work best for this dessert?
-
Small glass jars holding 6-8 ounces each are ideal. This allows enough room for all three layers - crust, cheesecake filling with hidden eggs, and whipped cream topping.
- → Can I substitute the mini chocolate eggs?
-
Absolutely. Try chopped chocolate bunnies, peanut butter cups, or even fresh berries for a lighter version. Any small Easter candy that fits within the layers works wonderfully.
- → Do I need an electric mixer for this recipe?
-
While an electric mixer makes whipping the cream and blending the filling easier, you can use a whisk and some elbow grease. The key is achieving stiff peaks in the cream and smooth cream cheese.
- → How long do these need to chill before serving?
-
Minimum chilling time is 2 hours for the filling to set properly. However, chilling for 4 hours or overnight yields the firmest, most sliceable texture.
- → Can I use different cookies for the crust?
-
Definitely. Chocolate sandwich cookies, vanilla wafers, or even shortbread cookies create delicious crust variations. Just adjust the melted butter as needed to reach a crumbly texture that holds together when pressed.