
 Pin It
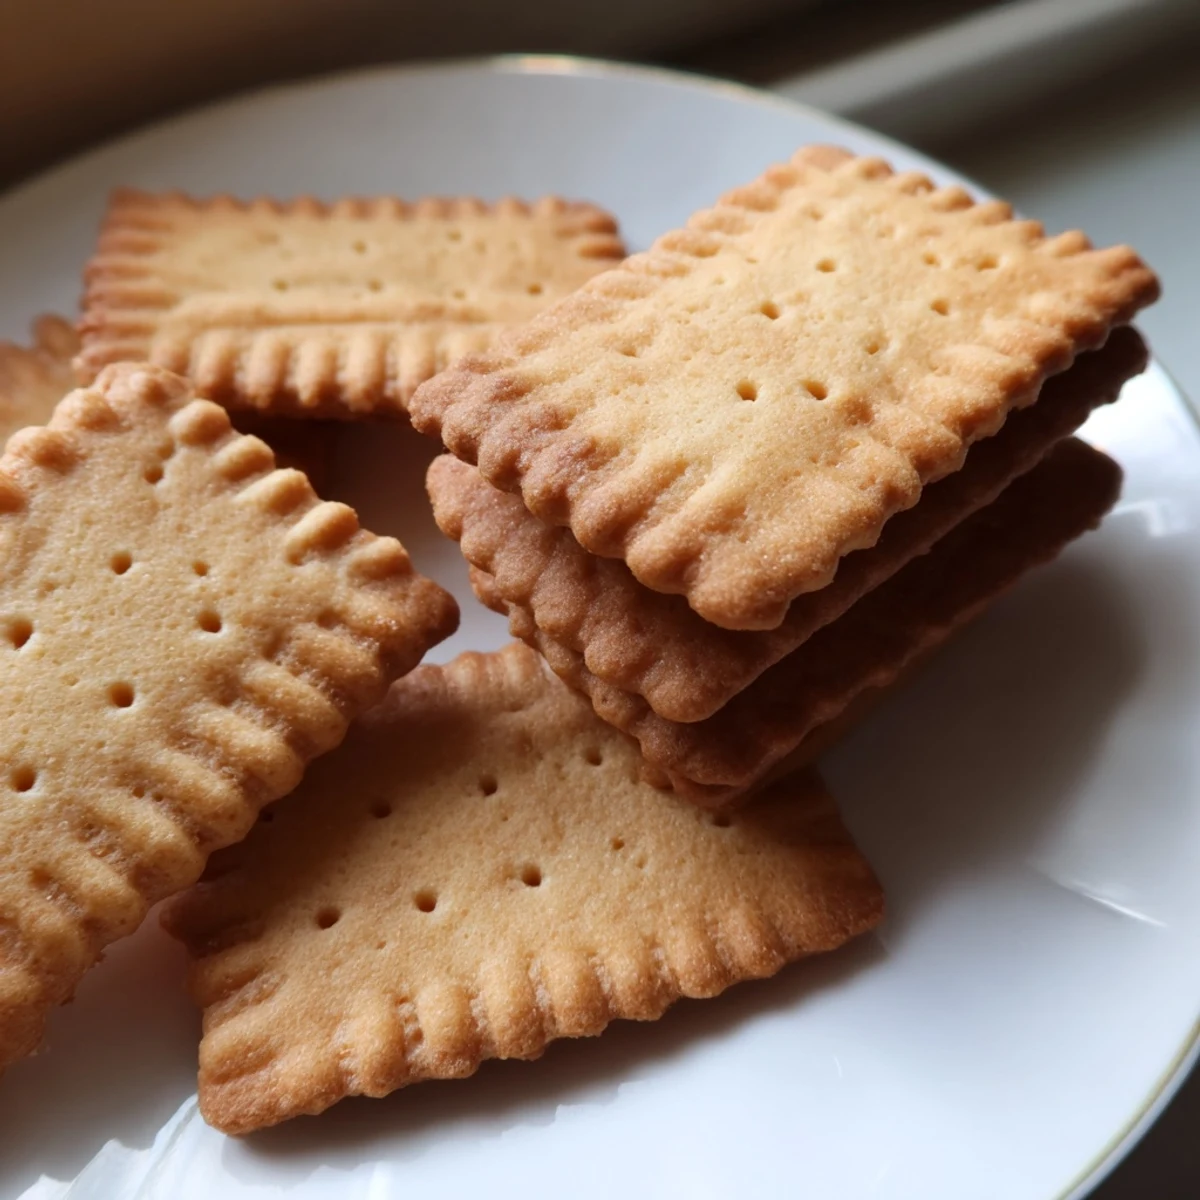
 Le petit beurre est un biscuit français classique, reconnu pour sa texture dorée et croustillante. Préparé avec des ingrédients simples — farine, beurre doux, sucre et une touche de vanille — il se déguste à tout moment de la journée.
La pâte, facile à travailler, repose une heure au réfrigérateur avant d'être découpée avec un emporte-pièce rectangulaire cannelé. Après 12 minutes de cuisson au four à 180°C, on obtient environ 40 biscuits légers et savoureux.
Ils se conservent parfaitement une à deux semaines dans une boîte hermétique, et peuvent être personnalisés avec des zestes de citron ou un enrobage au chocolat.
The sound of butter sizzling gently in a saucepan on a Sunday morning is one of those small things that makes a kitchen feel alive. I learned to make petit beurre biscuits during a rainy autumn weekend in Lyon, when the only sensible plan was to stay indoors and bake something that would fill the apartment with warmth. These little golden rectangles, with their charmingly scalloped edges and tiny fork prick marks, are the kind of unassuming treat that disappears faster than anything fancier I have ever attempted.
My friend Claire watched me roll out the dough that first time and laughed at how seriously I was taking the fork pricking step. She was right to laugh because I had lined up each little hole with the precision of a watchmaker, convinced that uniformity was the secret to authentic French baking. Now I just poke them quickly and haphazardly, and they taste exactly the same.
Ingredients
- 200 g flour: Plain all purpose flour gives the right structure here, and you want to spoon it into your measuring cup rather than packing it down firmly.
- 100 g sugar: Granulated sugar works best for that delicate crunch on the edges when they come out of the oven.
- 100 g unsalted butter: Good quality butter makes all the difference in a recipe with so few ingredients, so use the best you can find.
- 50 ml whole milk: Whole milk adds richness that skim simply cannot provide, and it helps bring the dough together smoothly.
- 5 g baking powder: Just enough lift to keep them from being rocks, but not so much that they puff up and lose their signature flat shape.
- 1 pinch of salt: Salt is the quiet hero here, pulling the butter and vanilla flavors forward in a way you will notice if you forget it.
- 1 vanilla bean or 1 packet vanilla sugar: Scraping a real vanilla bean into the warm butter mixture fills your kitchen with the most incredible fragrance, though vanilla sugar works in a pinch.
Instructions
- Melt and blend:
- Gently warm the butter with the milk in a small saucepan over low heat until the butter is just melted, then stir in the sugar and vanilla until everything dissolves into a fragrant golden liquid.
- Cool slightly:
- Let the mixture sit for a few minutes until it is warm rather than hot to the touch, because adding it too soon to the dry ingredients can make the butter separate and the texture turn greasy.
- Form the dough:
- Pour the cooled butter mixture into a large bowl, add the flour, baking powder, and salt, then stir with a wooden spoon until a soft cohesive dough forms and pulls away from the sides cleanly.
- Rest in the fridge:
- Shape the dough into a flat disc, wrap it tightly in plastic film, and tuck it into the refrigerator for a full hour so it firms up enough to roll without sticking to everything.
- Roll and cut:
- Preheat your oven to 180 degrees Celsius, then roll the chilled dough out on a lightly floured surface to about 3 or 4 millimeters thick and cut out rectangles with a fluted cutter for that classic petit beurre look.
- Prick and bake:
- Arrange the biscuits on a parchment lined baking sheet, poke each one a few times with a fork, and bake for 12 minutes until the edges turn a lovely pale gold.
- Cool completely:
- Transfer the biscuits to a wire rack and let them cool fully before eating, because they continue to crisp up as they sit and the texture is best once they reach room temperature.
 Pin It
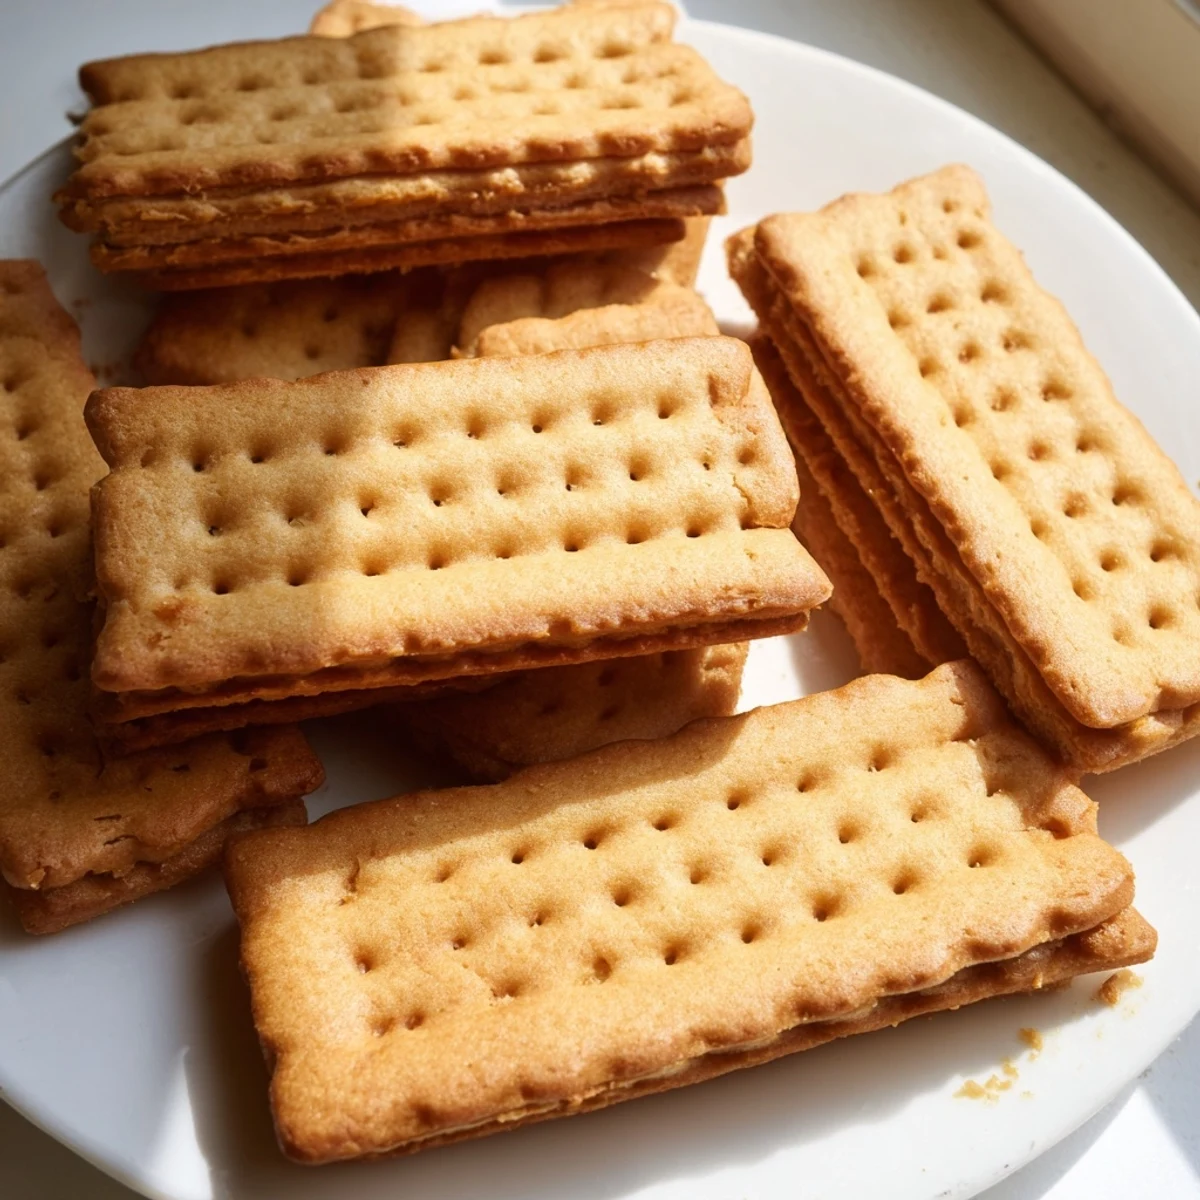
 I once packed a tin of these into my suitcase before a train ride to Paris, and by the time I arrived there were only three left because I kept reaching for them every few kilometers. That is when I understood why the French have kept this humble biscuit in their hearts for over a century.
Flavor Variations Worth Trying
A tablespoon of finely grated lemon zest folded into the dough at the end adds a brightness that pairs beautifully with Earl Grey tea. You can also dip half of each cooled biscuit into melted dark chocolate and let them set on parchment paper for an effortlessly elegant upgrade. Both versions disappeared within an afternoon when I brought them to a neighborhood potluck last spring.
Storage and Keeping Them Crisp
These biscuits stay crisp for up to two weeks in a properly sealed tin, but a single humid afternoon can soften them noticeably if the container is not truly airtight. I learned this the hard way after leaving a batch in a loosely covered jar during a muggy August week and finding them disappointingly soft. A quick ten minutes in a low oven brings the snap back beautifully if that happens to you.
Serving Suggestions and Pairings
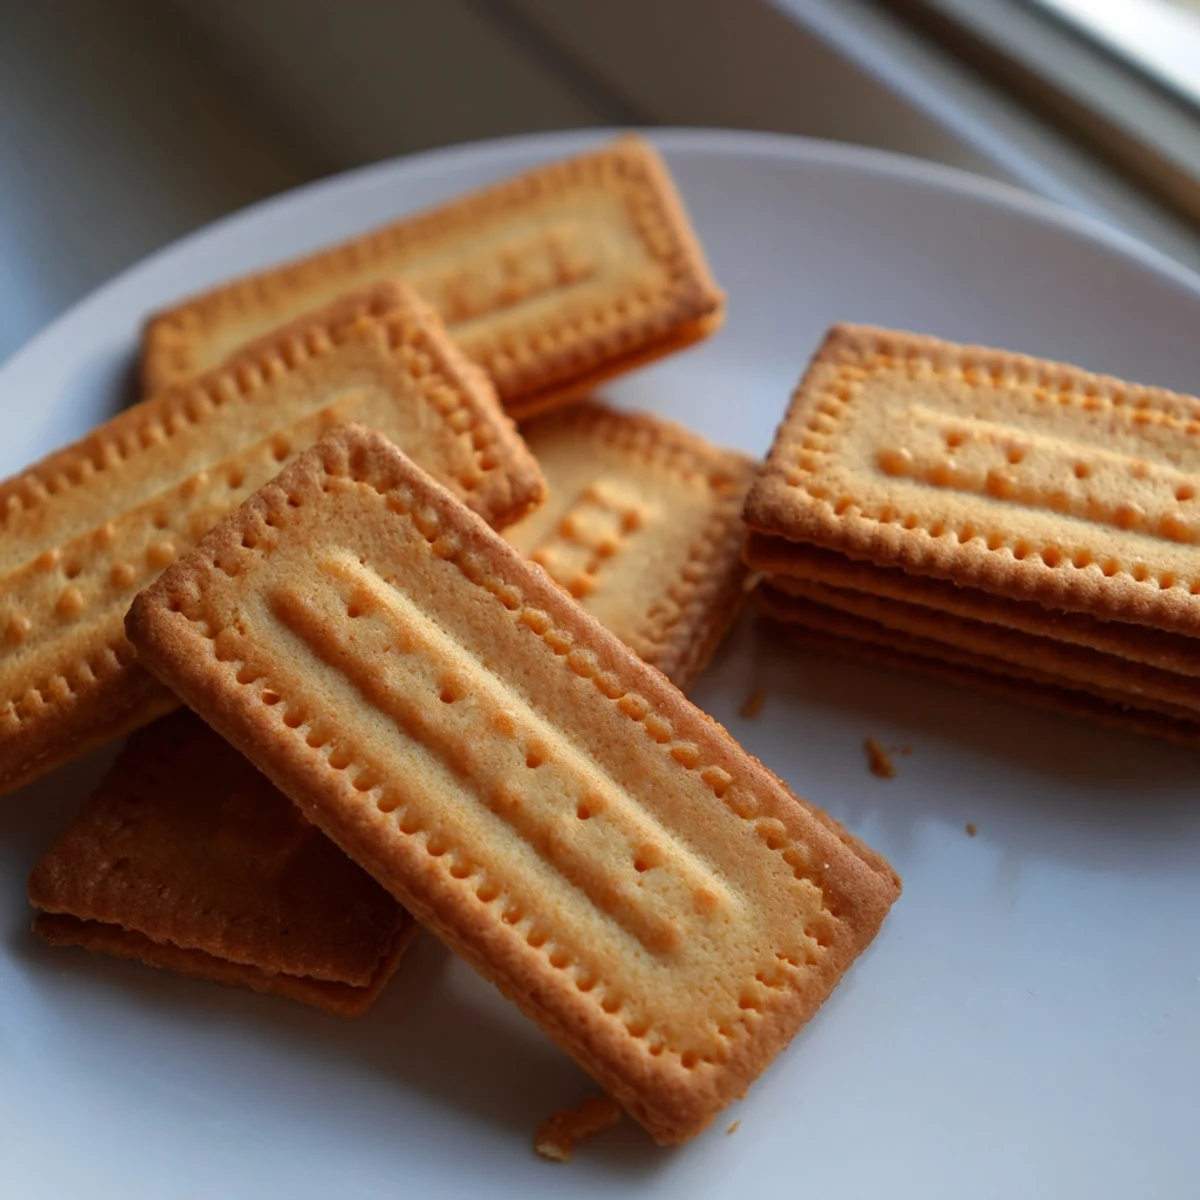
There is a reason these biscuits are traditionally served with afternoon tea or coffee, because their buttery mildness complements nearly any warm beverage without competing for attention. Arrange them on a simple plate alongside a pot of herbal tea and you have something that feels far more special than the effort required would suggest.
- Try crumbling one over vanilla ice cream for an easy textural contrast that guests always appreciate.
- A thin layer of fruit jam sandwiched between two biscuits turns them into a lovely petit four for a brunch table.
- Remember that the dough freezes well for up to a month, so you can always have some ready for unexpected visitors.
 Pin It
 Every time I make these I think of that rainy afternoon in Lyon, and how something so simple became a small ritual I return to whenever I need a quiet hour in the kitchen. The biscuits are really just butter, flour, sugar, and patience.
Common Questions
- → Peut-on préparer la pâte à l'avance ?
-
Oui, la pâte se conserve très bien au réfrigérateur pendant 24 à 48 heures, emballée dans un film alimentaire. Vous pouvez également la congeler jusqu'à un mois.
- → Pourquoi laisser reposer la pâte au réfrigérateur ?
-
Le repos d'une heure au frais permet au beurre de se solidifier, ce qui rend la pâte plus facile à étaler et à découper. Il favorise également le développement des saveurs.
- → Quel emporte-pièce utiliser pour des petits beurre authentiques ?
-
L'emporte-pièce traditionnel est rectangulaire avec des bords cannelés. Si vous n'en avez pas, un emporte-pièce carré ou rond fera également l'affaire pour des biscuits tout aussi savoureux.
- → Comment obtenir des biscuits bien croustillants ?
-
Étalez la pâte finement, sur 3 à 4 mm d'épaisseur, et veillez à ne pas les surcuire. Un passage sur une grille de refroidissement après la cuisson permet à l'air de circuler et de préserver le croustillant.
- → Peut-on remplacer le beurre doux par du beurre salé ?
-
Tout à fait. Le beurre salé apportera une touche légèrement salée qui se marie très bien avec le sucre. Dans ce cas, réduisez ou supprimez la pincée de sel indiquée dans les ingrédients.
- → Comment conserver les petits beurre ?
-
Placez-les dans une boîte hermétique à température ambiante, idéalement dans un endroit sec. Ils se conservent ainsi pendant une à deux semaines sans perdre leur croustillant.