
 Pin It
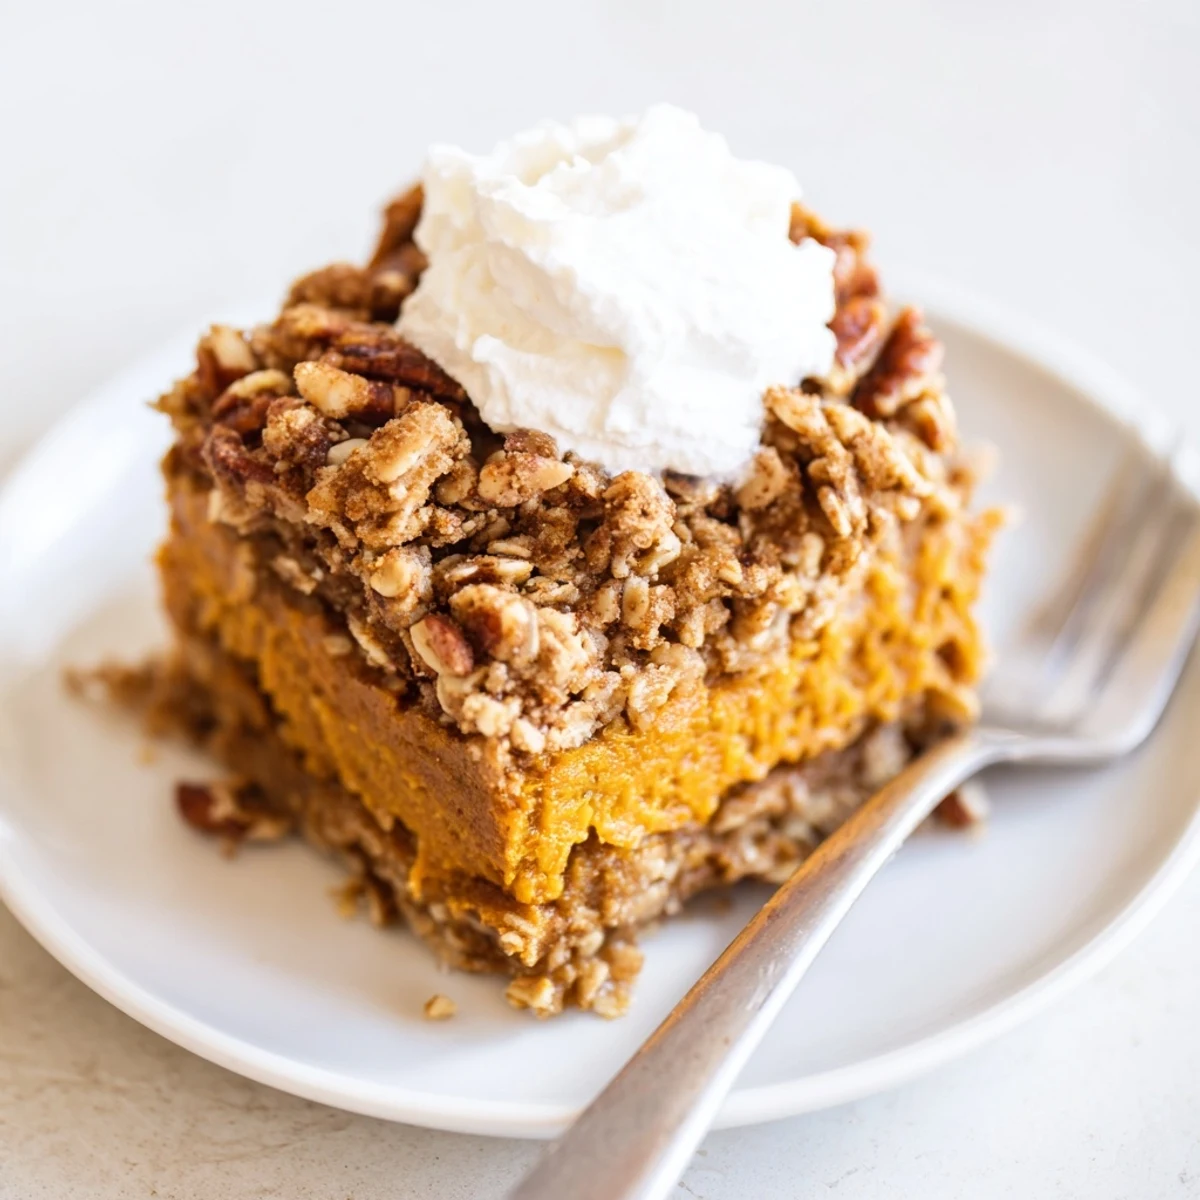
 This pumpkin pie crisp combines the beloved flavors of classic pumpkin pie with the irresistible crunch of a buttery oat topping. A smooth, warmly spiced pumpkin filling sits beneath a golden layer of oats, brown sugar, and pecans, baked until perfectly set.
Ready in just one hour with 15 minutes of prep, it's an ideal dessert for Thanksgiving, fall gatherings, or any chilly evening. Serve it warm with a scoop of vanilla ice cream or chilled with whipped cream.
One October evening, with rain tapping the kitchen window and a can of pumpkin purée staring at me from the pantry shelf, I decided a traditional pie felt too fussy for the mood I was in. I wanted something that captured everything I love about pumpkin pie but with the lazy comfort of a fruit crisp. The result was this Pumpkin Pie Crisp, and honestly, it changed my autumn dessert game forever. That first spoonful, warm and fragrant with cinnamon, made me wonder why I had ever bothered with pie crust at all.
I brought this to a potluck at my friend Maras house last Thanksgiving, expecting it to sit quietly next to the pies and cakes. Within twenty minutes, someone had scraped the corner of the pan clean and people were asking if there was a second batch hiding somewhere. Mara now texts me every October to confirm I am bringing it again.
Ingredients
- Pumpkin Purée (15 oz can): Use pure pumpkin purée, not pumpkin pie filling, which is already sweetened and spiced and will throw off your balance.
- Eggs (2 large): These bind the filling and give it that custardy texture, so make sure they are at room temperature for the smoothest mix.
- Evaporated Milk (1 cup): This is what makes the filling creamy and rich without being heavy like condensed milk would be.
- Granulated Sugar (3/4 cup): Just enough sweetness to let the spices shine without overpowering the natural pumpkin flavor.
- Ground Cinnamon (2 tsp for filling, 1 tsp for topping): The backbone of the spice profile, and you should smell it before you even taste the dessert.
- Ground Nutmeg, Ginger, and Cloves (1/4 tsp each): This trio creates warmth and depth, and even though the amounts are small, skipping any one of them is noticeable.
- Salt (1/2 tsp): Salt is what makes the spices pop and keeps the filling from tasting flat.
- Vanilla Extract (1 tsp): A quiet supporting player that rounds out all the bold spices beautifully.
- Old Fashioned Rolled Oats (1 cup): These give the topping its signature rustic crunch, so do not substitute quick oats which turn mushy.
- All Purpose Flour (1/2 cup): Helps bind the crumb topping together so it forms those irresistible golden clusters.
- Light Brown Sugar (2/3 cup, packed): Adds caramel notes to the topping that plain white sugar simply cannot replicate.
- Unsalted Butter (1/2 cup, melted): The melted butter is what makes the topping crisp up and turn golden, and using unsalted lets you control the salt level.
- Chopped Pecans (1/3 cup, optional): These add a toasty crunch that takes the topping from great to unforgettable.
Instructions
- Prepare Your Baking Dish:
- Preheat your oven to 350°F and grease a 9x13 inch baking dish with butter or nonstick spray so nothing sticks later.
- Whisk the Pumpkin Filling:
- In a large bowl, whisk together the pumpkin purée, eggs, evaporated milk, granulated sugar, cinnamon, nutmeg, ginger, cloves, salt, and vanilla until everything is completely smooth with no streaks. Pour this silky mixture into your prepared dish and spread it out evenly.
- Build the Crisp Topping:
- In a separate bowl, stir together the oats, flour, brown sugar, and cinnamon until combined. Pour in the melted butter and stir until the mixture looks crumbly and delicious, then fold in the chopped pecans if you are using them.
- Assemble and Bake:
- Sprinkle the topping evenly over the pumpkin filling, covering as much surface as you can. Bake for 40 to 45 minutes until the edges are bubbling, the filling is set with just a gentle wobble in the center, and the topping is deeply golden.
- Cool and Serve:
- Let it rest for at least 20 minutes so the filling has time to firm up before you scoop into it. Serve warm with a dollop of whipped cream or chilled the next day when the flavors have deepened even more.
 Pin It
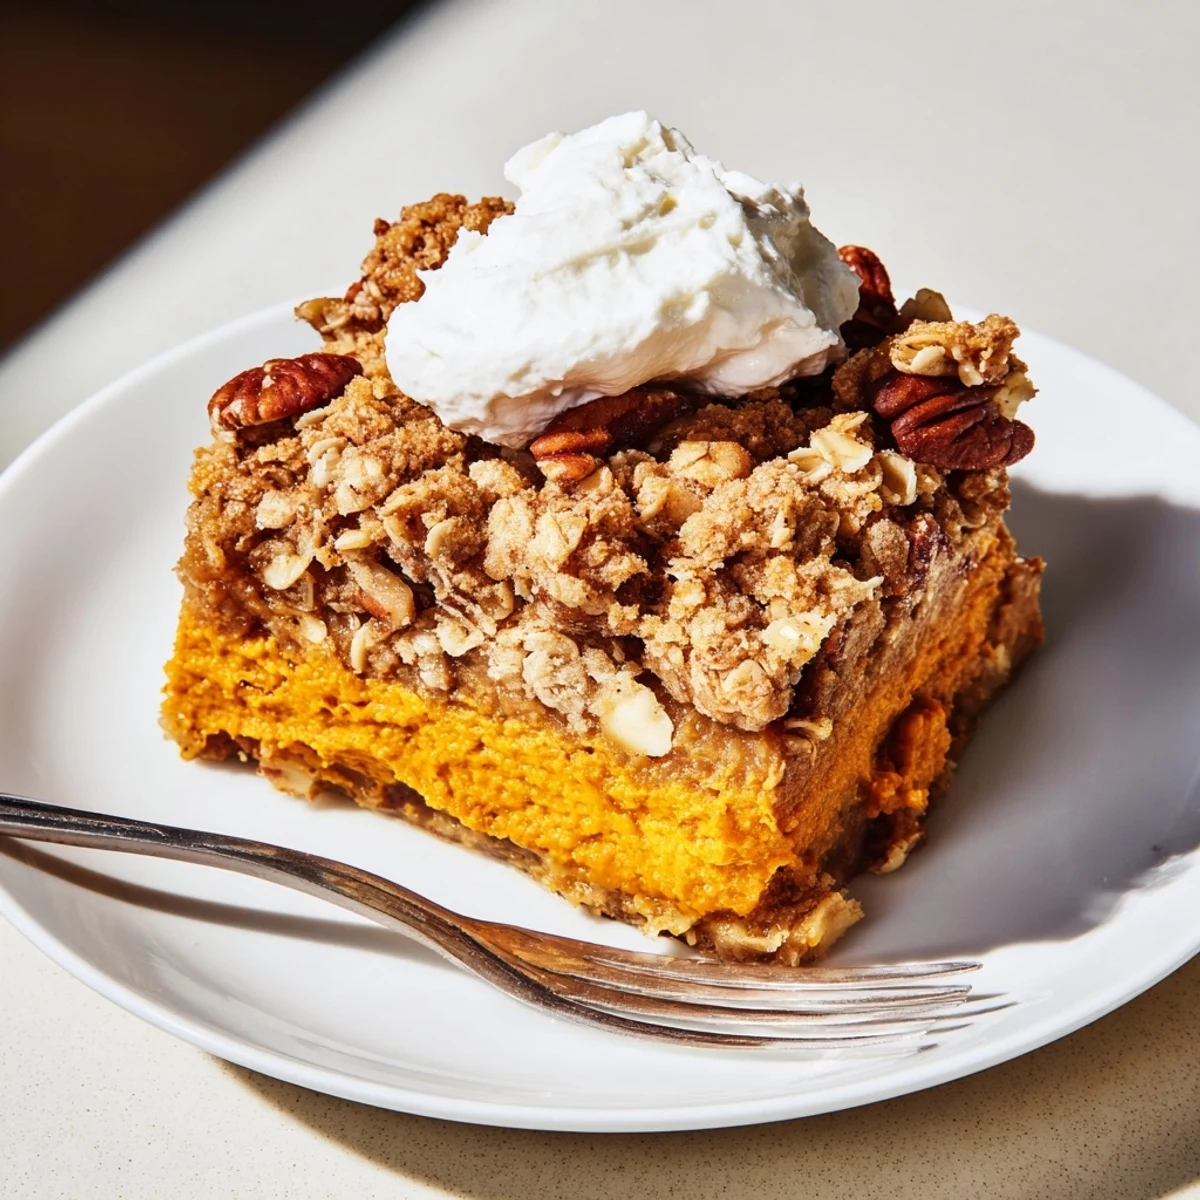
 There is something about scooping this dessert into bowls while everyone hovers around the kitchen that makes it feel less like serving food and more like giving a gift. The way the topping crackles under the spoon and the pumpkin filling oozes up around the edges makes people lean in closer every time.
Making It Your Own
A pinch of cardamom in the filling adds a floral warmth that surprises people in the best way. I discovered this by accident one evening when I grabbed the wrong jar and now I always add it. You could also swap the pecans for walnuts or sliced almonds, or leave the nuts out entirely if allergies are a concern. For a gluten free version, your favorite one to one gluten free flour blend works perfectly in both the filling thickening and the topping.
Serving Suggestions
A scoop of vanilla bean ice cream melting slowly over a warm square of this crisp is honestly hard to beat on a chilly evening. Whipped cream works too, especially if you add a whisper of cinnamon to it. I have also been known to eat leftovers cold from the fridge for breakfast, and I stand by that decision completely. However you serve it, make sure there is enough for seconds because people always come back.
Storing and Reheating
Cover the baking dish tightly with foil or transfer leftovers to an airtight container and it keeps beautifully in the fridge for up to four days. The topping softens a bit overnight but a quick warm up in a 300°F oven for about ten minutes brings the crunch right back. I actually think the flavor improves on day two when the spices have had time to mingle and settle into the pumpkin.
- Freeze individual portions wrapped tightly in foil for up to two months and reheat from frozen in a low oven.
- Do not microwave the topping if you want to preserve any crunch because it will go soggy fast.
- Always label your leftovers with the date so you remember when autumn goodness is waiting for you.
 Pin It
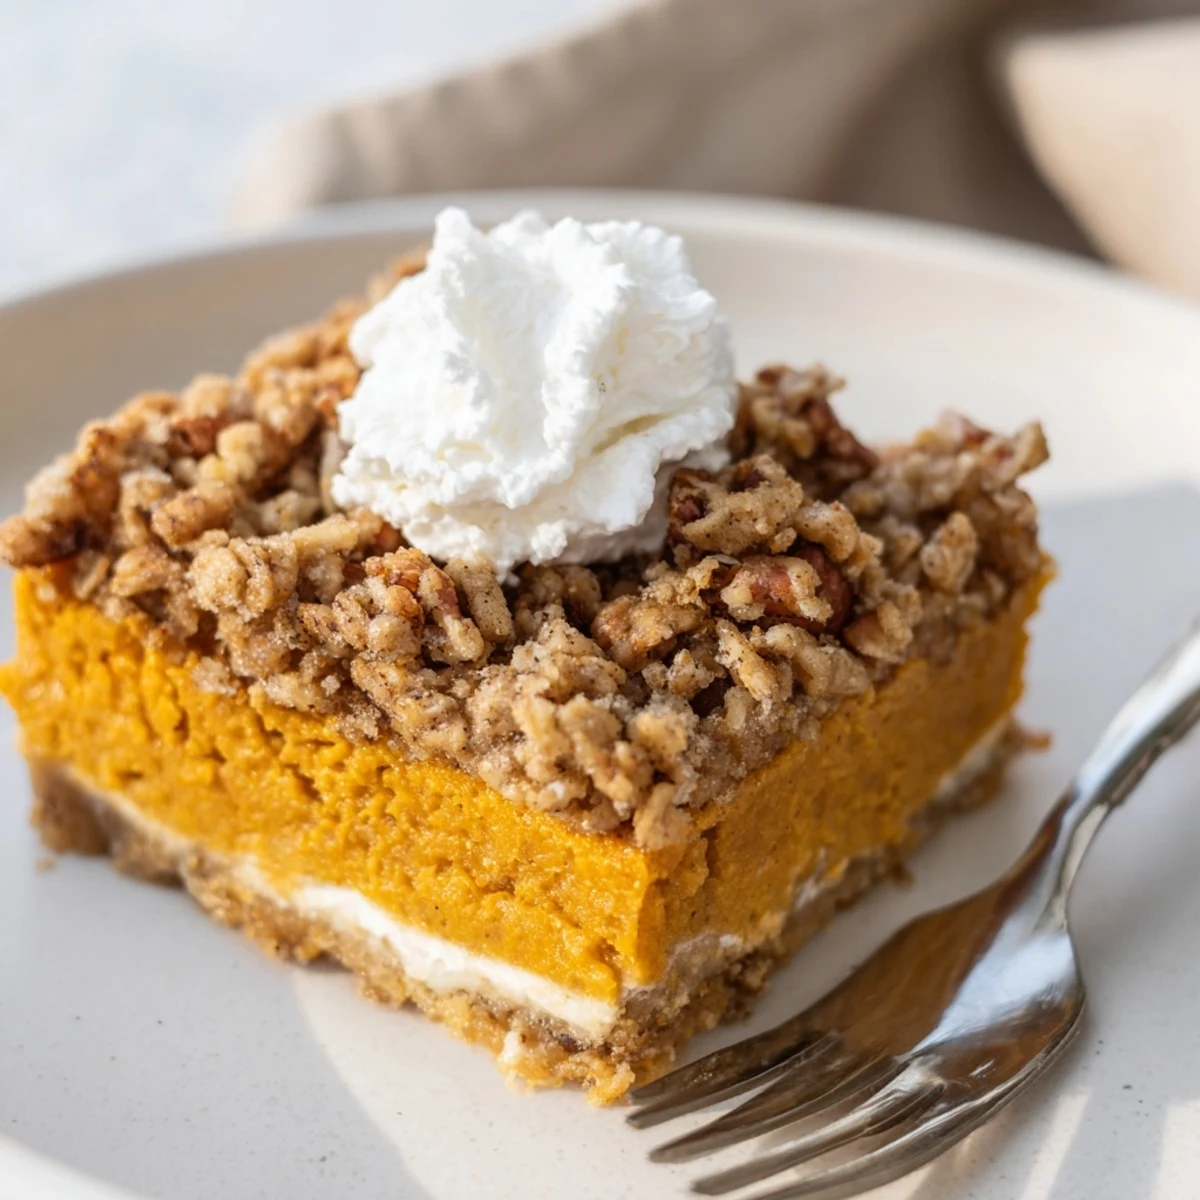
 This Pumpkin Pie Crisp is the kind of dessert that makes your kitchen smell like everything good about fall, and it asks almost nothing of you in return. Share it generously, and do not forget to save yourself a corner piece with extra topping.
Common Questions
- → Can I make pumpkin pie crisp ahead of time?
-
Yes, you can prepare it up to one day in advance. Store it covered in the refrigerator and reheat individual portions in the microwave for about 30 seconds, or warm the entire dish in the oven at 300°F (150°C) for 15–20 minutes before serving.
- → What's the best way to serve pumpkin pie crisp?
-
It's delicious both warm and chilled. For the best experience, serve warm with a generous scoop of vanilla ice cream or a dollop of freshly whipped cream. The contrast of the warm spiced filling and cold topping is irresistible.
- → Can I use fresh pumpkin instead of canned purée?
-
Absolutely. Roast a small sugar pumpkin, scoop out the flesh, and blend until smooth. You'll need about 1 3/4 cups of fresh purée to replace one 15 oz can. Make sure to drain any excess moisture from the fresh purée before using.
- → How do I store leftovers?
-
Cover the baking dish tightly with plastic wrap or transfer portions to an airtight container. Refrigerate for up to 4 days. The oat topping will soften slightly but the flavors actually improve the next day as the spices meld together.
- → Can I make this gluten-free?
-
Yes, simply substitute the all-purpose flour in the topping with your favorite gluten-free flour blend. Also ensure your oats are certified gluten-free, as cross-contamination can occur during processing. All other ingredients are naturally gluten-free.
- → Can I freeze pumpkin pie crisp?
-
Yes, it freezes well for up to 3 months. Let it cool completely, then wrap the dish tightly in plastic wrap and aluminum foil. Thaw overnight in the refrigerator and reheat in the oven at 350°F (175°C) for about 20 minutes to re-crisp the topping.