 Pin It
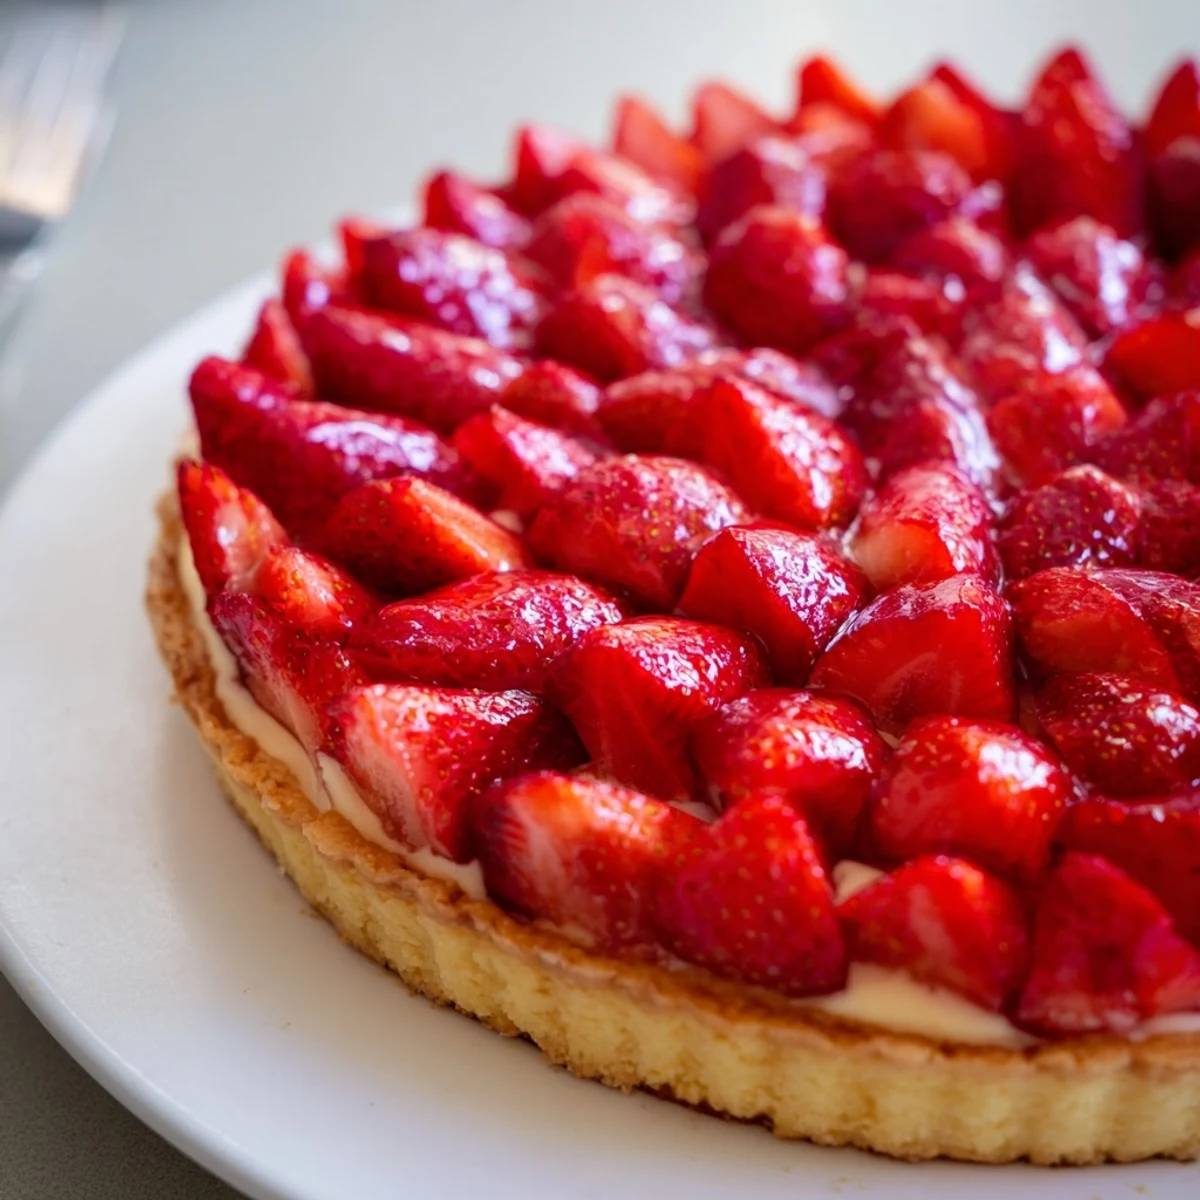
 Préparez une pâte sablée fondante, laissez-la reposer puis faites-la cuire à blanc jusqu'à légère coloration. Réalisez une crème pâtissière parfumée à la vanille et laissez-la refroidir au contact. Garnissez le fond de tarte de crème, disposez des fraises lavées et équeutées, puis nappez-les d'un glaçage d'abricot chauffé. Réfrigérez au moins 1 heure pour assurer tenue et saveurs.
There is something enchanting about the gentle scent of strawberries mingling with warm pastry that fills my kitchen each June. The first time I made Tarte aux Fraises, the sun was streaming in, coloring every countertop with a summery warmth. Chilled bowls, a tangle of vanilla and citrus in the air, and my fingers sticky from fixing the strawberries in neat circles—these are the moments that make this dessert unforgettable. Rather than chasing precision, I found joy in the clumsy dusting of flour and laughter that kept me company until the tart was finally on the table.
A couple of springs ago, impromptu guests arrived and I decided to attempt this tart for the first time while everyone gathered in the kitchen. There was a constant hum of conversation, a little mess, a lot of encouragement, and not a crumb left at the end. It’s funny how the simple act of glazing strawberries can spark so much conversation and anticipation around the table.
Ingredients
- Flour (250 g): Opt for plain, unbleached flour so your crust stays tender and not overly crumbly; sifting gives you a lighter pastry.
- Butter (125 g, cold, diced): Coldness is key—as I learned from a floppy first attempt—so keep it chilled until mixing for that melt-in-your-mouth texture.
- Powdered Sugar (80 g): This brings a delicate sweetness and fine crumb that regular sugar can’t replicate; don’t skip sifting to avoid lumps.
- Egg (1): This adds richness and binds the dough beautifully, making it easy to bring together; room temperature eggs help the dough form smoothly.
- Salt (pinch): Just a touch deepens flavor, so never forget this tiny but crucial addition.
- Whole Milk (500 ml): Choose full-fat for a creamier, more luxurious texture in the pastry cream—skim doesn’t deliver the same silkiness.
- Vanilla Bean or Extract (1 bean or 1 tsp): Real vanilla elevates the custard and fills the kitchen with irresistible aroma; scrape the seeds for maximum fragrance.
- Sugar (100 g): The right sugar level keeps the custard gently sweet and lets the strawberries shine; measure carefully for balance.
- Egg Yolks (4): Use fresh for a deep yellow color and extra creamy result—save the whites for another treat.
- Cornstarch (40 g): This thickens the custard without heaviness; whisk well for the smoothest finish.
- Butter for Custard (30 g): Whisked in at the end, it brings a glossy, silky richness to the pastry cream.
- Fresh Strawberries (500 g): Choose ripe but firm berries for easy slicing and stunning presentation; pat them dry after washing to keep the tart neat.
- Apricot Jam (2 tbsp): When gently warmed, it creates a glossy, professional finish; strain if chunky for a flawless glaze.
- Water (1 tbsp): Just a splash helps loosen the jam to a paintable consistency for the topping.
Instructions
- Mix and Chill Pâte Sablée:
- Combine flour, salt, and powdered sugar, then rub in cold butter quickly for a sandy texture—tiny butter bits make the crust flaky. Add the egg and bring together gently; once smooth, wrap and chill so it stays easy to handle.
- Shape the Crust:
- Roll your chilled dough to fit your tart tin, pressing into the sides with floured fingertips. Dock the base with a fork to prevent bubbles, and line with parchment plus baking weights to ensure even baking.
- Bake Until Golden:
- Bake at 180°C for 20 minutes with weights, then remove weights and paper—finish baking another 10 minutes until just golden. Let the crust cool entirely so it stays crisp beneath the cream.
- Make the Pastry Cream:
- Heat milk and vanilla until just steamy, infusing that sweet aroma. Whisk yolks with sugar and cornstarch, then temper with a little hot milk before returning to the pot—stir constantly as it thickens magically into custard.
- Add Final Richness:
- Once off heat, stir in the butter for a velvety finish and press plastic wrap directly on top to prevent a thick skin. Allow to cool fully; patience here means a smoother result later.
- Prepare the Strawberries:
- Wash, hull, and slice or halve the berries however you like—let your creative side shine. Leave them to dry on a towel for a tidier tart.
- Assemble the Tart:
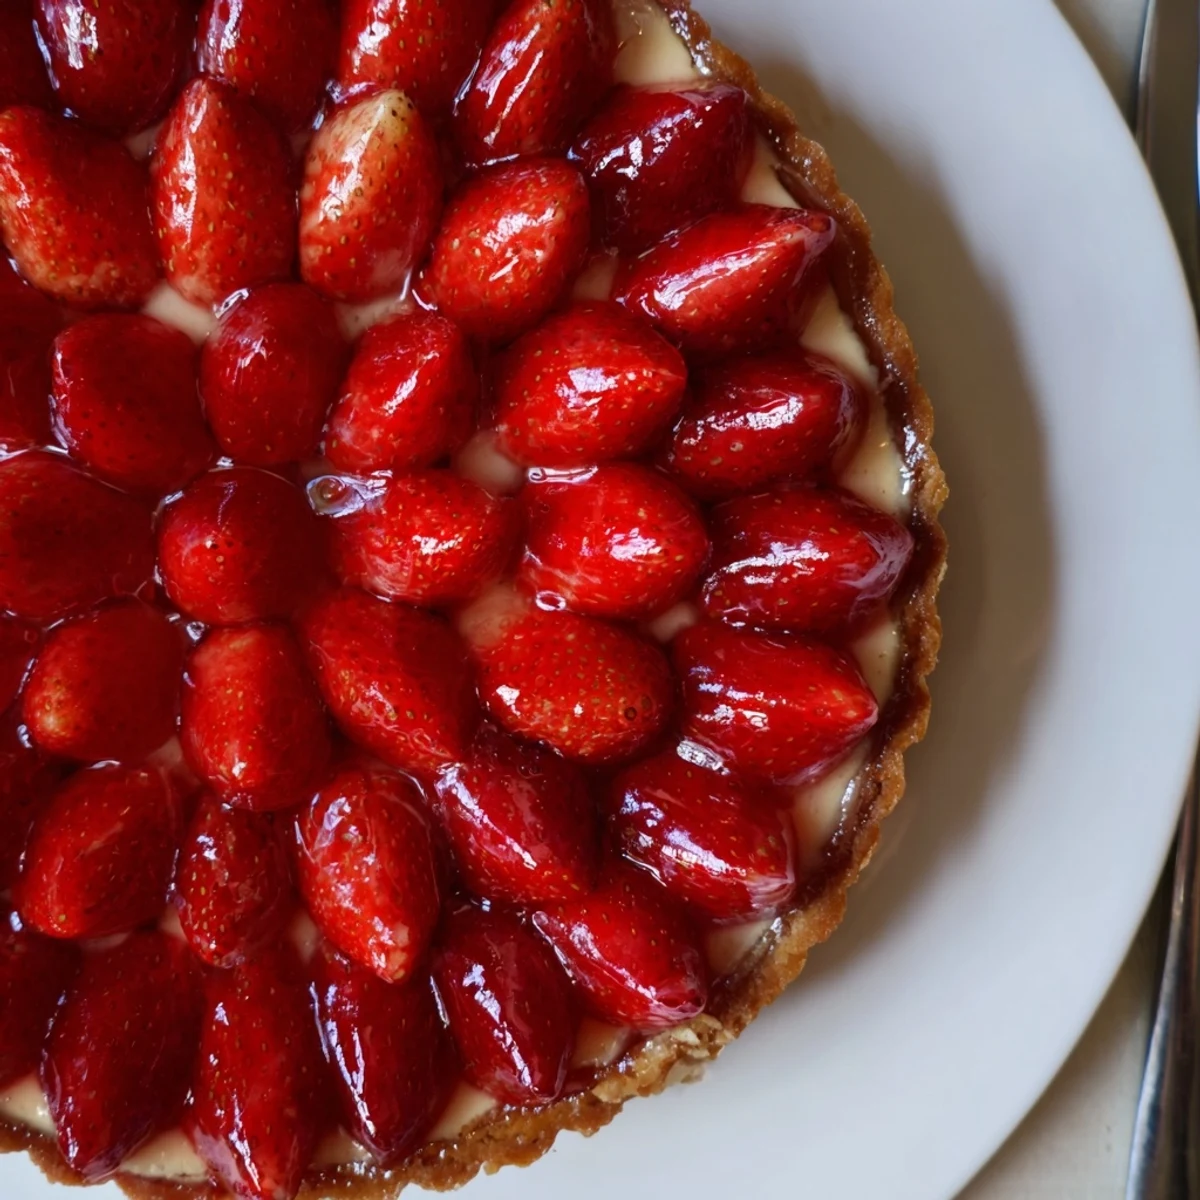
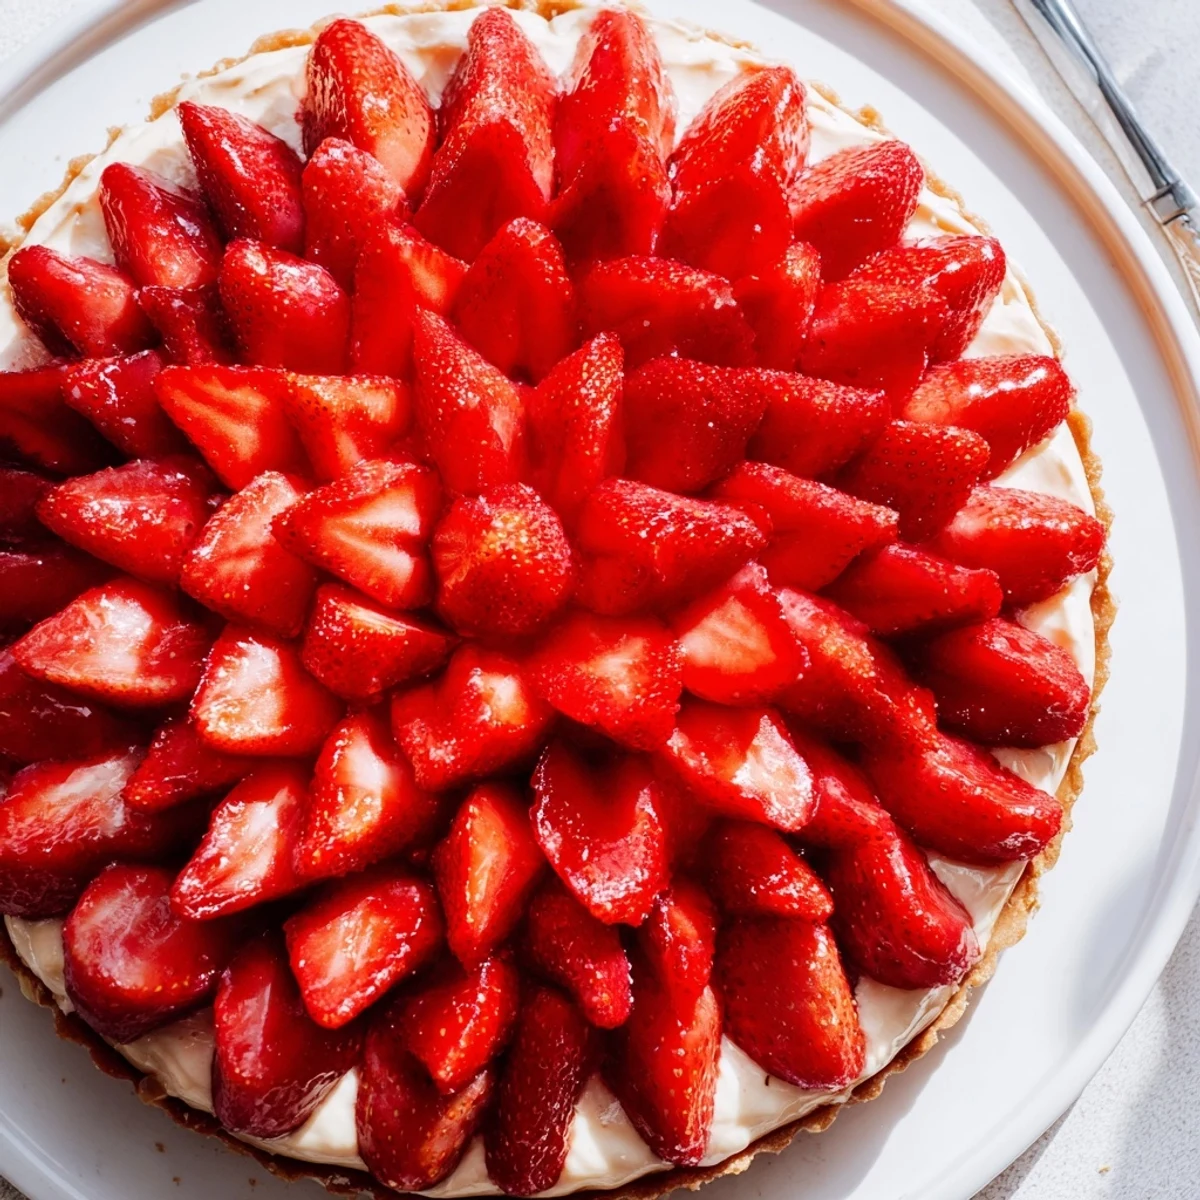
- Spread cool pastry cream into your shell, smoothing evenly, and arrange strawberries in gentle circles or scatter playfully. This part is always more charming with some artistic imperfection.
- Gloss It Up:
- Warm apricot jam and water just until liquid, then brush gently over the berries for a glistening sheen. Refrigerate at least an hour so everything sets beautifully before slicing.
 Pin It
 I’ll never forget sharing slices of this tart on the back patio as dusk set in, the last rays lighting up jewel-like strawberries. There was something in the way everyone slowed down to savor each bite that made the work in the kitchen feel completely worth it.
Getting the Perfect Pastry Cream
The secret to a silky, lump-free crème pâtissière is constant, vigilant whisking as it thickens over medium heat. The transformation happens suddenly, so keep your eyes on the pot—there’s a thrill in catching that moment when custard goes from liquid to lush.
Arranging for Beauty and Flavor
Placing strawberries atop the tart was once a nerve-wracking step for me, but a little imperfection is part of its homemade charm. I often mix slices and halves, letting their bright color and shapes overlap for a tapestry that looks both deliberate and inviting.
Serving and Storing with Ease
This tart tastes best chilled for at least an hour after assembly, when the cream and fruit have melded their flavors. To keep leftovers fresh, I gently place wax paper over the top and store in the fridge—though truthfully, it rarely survives the night at my place!
- If you’re short on time, the crust and cream can be made a day ahead.
- Always glaze after arranging the fruit—never before—or it will lose its shine.
- Slice the tart with a serrated knife for cleaner, prettier servings.
 Pin It
 Every tart I make brings something a little unexpected: a new swirl of strawberry, a dash of zest, or simply the feeling of sunshine on the plate. Save this for a moment when you want to dazzle yourself as much as your guests!
Common Questions
- → Comment éviter que la pâte sablée ne rétrécisse à la cuisson ?
-
Ne pas trop travailler la pâte, la laisser bien refroidir au frais avant d'étaler, foncer le moule sans tirer la pâte et cuire à blanc avec poids pour conserver la forme.
- → Comment obtenir une crème pâtissière lisse sans grumeaux ?
-
Tempérez les jaunes avec un peu de lait chaud avant d'incorporer au mélange, fouettez vigoureusement puis cuisez à feu moyen en remuant sans cesse; tamisez si besoin.
- → Quelle alternative à la maïzena peut-on utiliser ?
-
La fécule de pomme de terre ou la farine de blé peuvent remplacer la maïzena, en ajustant légèrement les quantités: la maïzena reste la plus neutre pour une crème onctueuse.
- → Comment conserver la tarte assemblée et pendant combien de temps ?
-
Conserver au réfrigérateur, couverte, et consommer de préférence dans les 24 à 48 heures pour une texture optimale; le nappage aide à protéger les fruits.
- → Peut-on remplacer la confiture d'abricot pour le nappage ?
-
Oui, une gelée claire chauffée et filtrée, ou une compote très lisse légèrement diluée conviennent pour apporter brillance sans alourdir.
- → Des conseils pour choisir les fraises ?
-
Choisissez des fraises fermes, parfumées et de saison; lavez-les rapidement, équeutez et séchez délicatement avant de les disposer pour éviter d'alourdir la garniture.